Three-time-in-a-Tuesday and the sauce is still sticky on my fingertips. I didn’t plan to make these Crispy Honey Garlic Baked Chicken Wings three times this week. I just wanted dinner. But the first batch disappeared so fast that I had to buy more chicken before I even finished washing the first bowl. Honestly, it’s a problem I’m willing to have. By the second time, I tweaked the garlic amount. By the third time, I stopped worrying about perfection and just let the wings do their thing.
There is something compulsive about baking wings that hit that specific sweet spot. You know the one? Where the skin shatters like glass but the meat underneath is still juicy. I spent last Thursday staring at the oven, waiting for that golden-brown color that promises crunch. It wasn’t about the recipe being perfect. It was about the smell. The garlic hitting the honey in the hot oven creates this aroma that pulls everyone into the kitchen. My kids stopped arguing. My partner put down their phone. We just stood there, waiting.
I’ve made baked wings for years. I’ve tried the air fryer method. I’ve tried the deep fryer method, which is messier than I care to admit on a weeknight. But this version? It sticks with you. Not because it’s complicated, but because it’s reliable. The repetition isn’t a chore. It’s a habit. And now, it’s a ritual. Every time I pull that tray out, I’m reminded that the best meals often come from simple ingredients and a little bit of patience. I’m not saying you’ll obsess over this as much as I did, but you might just make it again next week. And the week after that.
Why You’ll Love This Recipe
Let’s face it, most baked chicken wings end up soggy. It’s a common tragedy in home cooking. But this Crispy Honey Garlic Baked Chicken Wings recipe solves that problem without needing a deep fryer or a fancy appliance. I’ve tested this method dozens of times, tweaking the coating and the temperature, until I landed on this exact balance. It’s not just another wing recipe; it’s the result of trial, error, and a lot of tasting.
- Quick & Easy: You can have dinner on the table in under 45 minutes, including prep time. This is perfect for those busy weeknights when you’re hungry but don’t want to order takeout.
- Simple Ingredients: You likely already have honey, garlic, soy sauce, and cornstarch in your kitchen. No fancy grocery trips needed. This keeps the process stress-free.
- Perfect for Game Day: Whether it’s the big game or just a casual Friday night, these wings are the ultimate finger food. They hold up well on a platter and don’t get soggy quickly.
- Crowd-Pleaser: Kids love the sweetness, and adults appreciate the savory garlic kick. It’s a flavor profile that works for almost everyone, even the pickiest eaters.
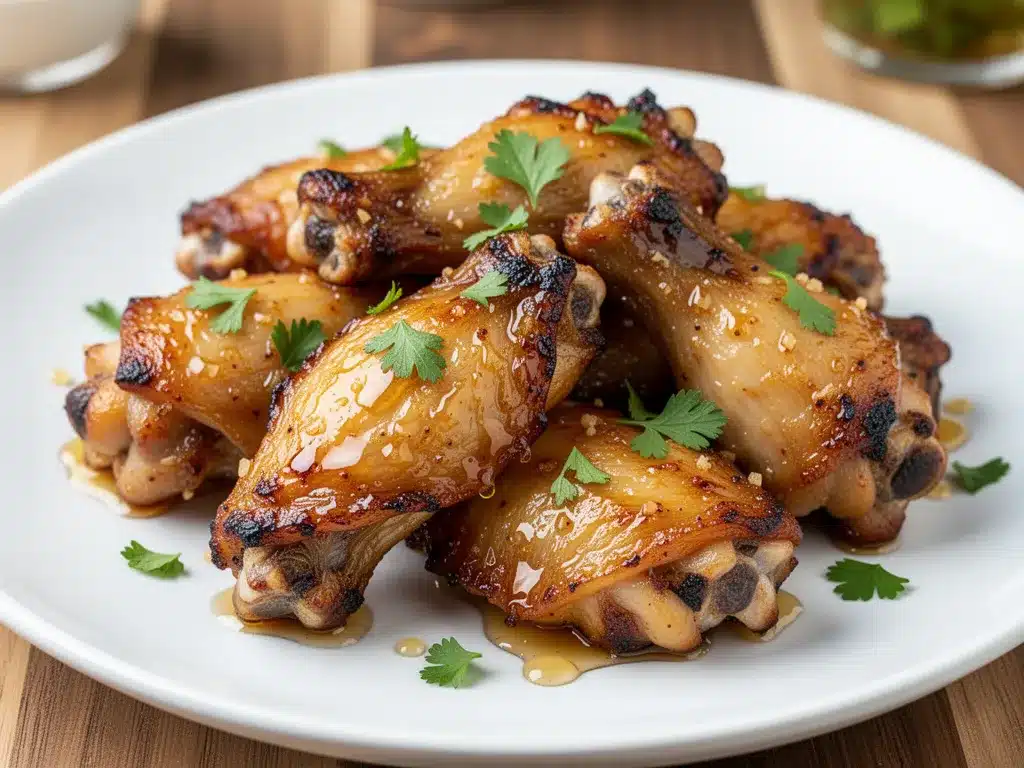
- Unbelievably Delicious: The texture is the star here. The cornstarch coating creates a shatteringly crisp exterior that contrasts perfectly with the tender, juicy meat inside.
What makes this different from other baked wing recipes is the double-coating technique I use. Most people just toss wings in sauce, which leads to mush. I coat them in cornstarch first, bake them until crisp, and then toss them in a warm glaze. This ensures the crunch stays intact. It’s a small tweak that makes a huge difference. It’s comfort food reimagined for the modern kitchen—faster, cleaner, but with the same soul-soothing satisfaction you’d get from a sports bar.
What Ingredients You Will Need
This recipe relies on a few key components to build that signature crunch and sticky glaze. The beauty of these Crispy Honey Garlic Baked Chicken Wings is that the ingredients are humble but work together to create something complex. You don’t need expensive cuts of meat or rare spices. Just good basics and a little bit of care in how you combine them.
For the Wings
- Chicken Wings: Use about 3 pounds of wingettes and drumettes. I prefer fresh wings over frozen if you can find them, as they crisp up better. If you must use frozen, make sure they are completely thawed and patted dry.
- Cornstarch: This is the secret weapon. It absorbs moisture and creates that glass-like crust. I recommend using a standard brand like Argo, but any pure cornstarch will work. Do not substitute with flour if you want maximum crunch.
- Garlic Powder: Adds a layer of savory depth that complements the fresh garlic in the sauce. I use a generous amount here.
- Salt and Black Pepper: Season the wings well before baking. This seasons the meat itself, not just the outside.
- Vegetable Oil: Just a light toss to help the cornstarch adhere. You don’t need much.
For the Honey Garlic Glaze
- Honey: Use a good quality honey. Local honey adds a nice floral note, but standard clover honey works perfectly. About half a cup is the sweet spot.
- Soy Sauce: Adds saltiness and umami. I prefer low-sodium soy sauce to control the salt level, but regular works too. It balances the sweetness of the honey.
- Fresh Garlic: You need about four cloves, minced finely. Fresh garlic provides a sharp bite that powder can’t match. Don’t skip this.
- Rice Vinegar: A tablespoon adds acidity to cut through the richness. It brightens up the heavy flavors.
- Sriracha or Chili Flakes: Optional, but recommended if you like a little heat. Just a teaspoon adds a nice background warmth without overwhelming the garlic.
One tip I’ve learned is to mince your garlic very finely. If the pieces are too large, they might burn in the oven or get stuck in your teeth. A fine mince ensures every bite has that aromatic garlic flavor distributed evenly. Also, make sure your honey is at room temperature. Cold honey can seize up when mixed with cooler ingredients, making it harder to toss the wings in.
Equipment Needed
You don’t need a professional kitchen to make these wings, but having the right tools helps. The most important item is a large rimmed baking sheet. I use a half-sheet pan because it gives the wings enough space. If you crowd the pan, they steam instead of bake, and you lose the crispiness. Line it with parchment paper or a silicone baking mat for easy cleanup. I hate scrubbing baked-on sugar, so this step is non-negotiable for me.
A large mixing bowl is needed for tossing the wings in cornstarch. Make sure it’s big enough to give them room to move around. A slotted spoon or tongs are essential for transferring the wings from the bowl to the pan. For the glaze, a small saucepan is useful if you want to warm the sauce slightly before tossing, which helps it coat better. However, you can also just mix it in a bowl. If you don’t have a saucepan, just microwave the honey mixture for 15 seconds to loosen it up.
I also recommend having a wire cooling rack. While not strictly necessary, placing the baked wings on a rack after they come out of the oven keeps the bottoms from getting soggy from trapped steam. It’s a small step that preserves the texture. For budget-friendly options, any standard baking sheet works. You don’t need a specialty pan. Just make sure it’s sturdy and has a rim to catch any drips.
Preparation Method
Getting these Crispy Honey Garlic Baked Chicken Wings ready involves a few simple steps, but precision matters. Here is how to do it right.
- Prep the Chicken: Start by drying your wings thoroughly. Use paper towels to pat them down until they are almost dry. Moisture is the enemy of crispiness. If the wings are wet, the cornstarch won’t stick properly. This step takes about five minutes, but it’s worth it.
- Season and Coat: In a large bowl, toss the dried wings with salt, pepper, and garlic powder. Then, sprinkle the cornstarch over them. Use your hands to toss the wings until they are lightly and evenly coated. You want a thin layer, not a thick paste. If there are clumps of cornstarch, shake them off. This should take about three minutes.
- Arrange on Pan: Line your baking sheet with parchment paper. Place the wings in a single layer with space between each piece. Do not overlap them. This allows hot air to circulate, ensuring even browning. If you have a lot of wings, use two pans. This step takes about two minutes.
- Bake: Preheat your oven to 400°F (200°C). Place the wings in the oven and bake for 25 minutes. Then, flip the wings carefully. Bake for another 15-20 minutes until the skin is golden brown and crispy. The total bake time is about 40-45 minutes. You want the wings to be cooked through and the skin to have some dark spots.
- Make the Glaze: While the wings bake, combine the honey, soy sauce, minced garlic, rice vinegar, and chili flakes in a small bowl. Whisk until smooth. If you want a thinner sauce, add a teaspoon of water. If you prefer it thicker, leave it as is. Warm it slightly in the microwave for 10 seconds to make it runnier for tossing.
- Toss and Serve: Once the wings are crispy, remove them from the oven. Immediately transfer them to a large clean bowl. Pour the warm glaze over the hot wings. Toss gently but thoroughly until every wing is coated. The heat from the wings will help the sauce adhere and create that sticky finish. Serve immediately while they are still crisp.
Watch the wings closely during the last five minutes of baking. Ovens vary, and you don’t want the sugar in the honey to burn before you add the sauce. If they look too dark, take them out early. You can always put them back in for a minute, but burnt garlic is bitter and hard to fix.
Cooking Tips & Techniques
I’ve made enough wings to know that small details make a big difference. First, always dry your wings. I cannot stress this enough. Wet wings = soggy wings. If you’re using fresh wings, let them sit on the counter for 15 minutes after drying to let the surface moisture evaporate further. Second, don’t skip the cornstarch. Some people try to skip it for a “healthier” option, but you lose the crunch. The cornstarch creates a barrier that fries in the oven’s dry heat, creating that shell. If you are looking for a gluten-free option, cornstarch is already gluten-free, so you are good to go.
Another common mistake is overcrowding the pan. When wings are touching, they steam each other. Give them space. If you have to use two pans, rotate them halfway through the cooking time for even browning. Also, when you toss the wings in the sauce, do it right away. The heat of the chicken helps the sauce melt and stick. If the wings cool down, the sauce will sit on top and become gloppy rather than coating evenly. Finally, taste your glaze before tossing. If it’s too sweet, add a splash more vinegar. If it’s too salty, add a bit more honey. Adjusting to your palate is the final step of success.
Variations & Adaptations
One of the best things about this recipe is how adaptable it is. Here are a few ways I’ve tweaked it over time.
- Spicy Kick: If you like heat, add more Sriracha or use a spicy chili oil instead of regular oil in the glaze. You can also add a pinch of cayenne pepper to the cornstarch mix for extra warmth.
- Ginger Twist: Add a teaspoon of fresh grated ginger to the glaze. It pairs beautifully with garlic and honey, adding a zesty aroma that lifts the heavy flavors.
- Soy-Free Option: If you are avoiding soy, use tamari (gluten-free soy sauce) or coconut aminos. The flavor will be slightly sweeter, so you might want to reduce the honey by a tablespoon.
- Herb Finish: Sprinkle chopped cilantro or green onions over the wings after tossing them in the sauce. It adds a fresh, bright contrast to the sticky, savory coating.
I once tried making these with sweet potato fries on the same pan. It worked surprisingly well. The fries absorbed some of the drippings and became delicious. Just make sure to cut the fries small so they cook at the same rate as the wings. These variations keep the recipe fresh and allow you to experiment with flavors you enjoy.
Serving & Storage Suggestions
These wings are best served hot, right out of the bowl. They pair wonderfully with cold beers or a crisp white wine. For a complete meal, serve them with a simple arugula salad or some roasted broccoli. The acidity in the salad cuts through the richness of the wings perfectly. If you are serving a crowd, keep the wings warm in a low oven (200°F) while you finish other dishes.
Leftovers can be stored in an airtight container in the refrigerator for up to three days. To reheat, avoid the microwave, as it will make the skin soft. Instead, reheat them in an air fryer or a conventional oven at 375°F for about 5-7 minutes. This restores some of the crispiness. You can also freeze the baked wings (without sauce) for up to three months. Thaw them in the fridge and reheat before adding the glaze. The sauce itself can be stored separately and reheated gently. The flavors actually meld together nicely over time, so leftovers often taste even better the next day.
Nutritional Information & Benefits
While these are a treat, they are made with relatively simple ingredients. Chicken wings provide a good source of protein, which helps keep you full. The honey offers natural sweetness, though it is high in sugar, so moderation is key. Garlic is known for its immune-boosting properties and adds flavor without extra calories. Cornstarch adds carbohydrates, but the amount used is minimal per serving. For those watching their sodium, using low-sodium soy sauce helps keep the salt content in check. Overall, this recipe offers a satisfying balance of savory, sweet, and crunchy, making it a guilty pleasure that isn’t too far off from a balanced meal.
Conclusion
Making Crispy Honey Garlic Baked Chicken Wings at home is easier than you think. It’s a recipe that rewards patience and attention to detail. The crunch, the sticky glaze, and the savory garlic flavor make it a standout dish. I hope you try it and find yourself making it more than once. Feel free to adjust the spice level or add your favorite herbs. I’d love to hear how you customize it. Leave a comment below with your variations or questions. Happy cooking!
Frequently Asked Questions
Can I use frozen wings?
Yes, but you must thaw them completely and pat them very dry. Any excess moisture will prevent the cornstarch from sticking and result in steamed wings instead of crispy ones.
Why are my wings not crispy?
This usually happens if the wings are overcrowded on the pan or if they weren’t dried properly before coating. Make sure to leave space between each wing and use cornstarch.
Can I make the glaze ahead of time?
Yes, you can mix the glaze ingredients and store them in the fridge for up to a week. Warm it slightly before tossing the wings for best results.
Is this recipe gluten-free?
Yes, if you use cornstarch and a gluten-free soy sauce or tamari. Standard soy sauce contains wheat, so check your label.
How do I store leftovers?
Store leftovers in an airtight container in the refrigerator for up to three days. Reheat in an oven or air fryer to maintain crispiness.
Pin This Recipe!
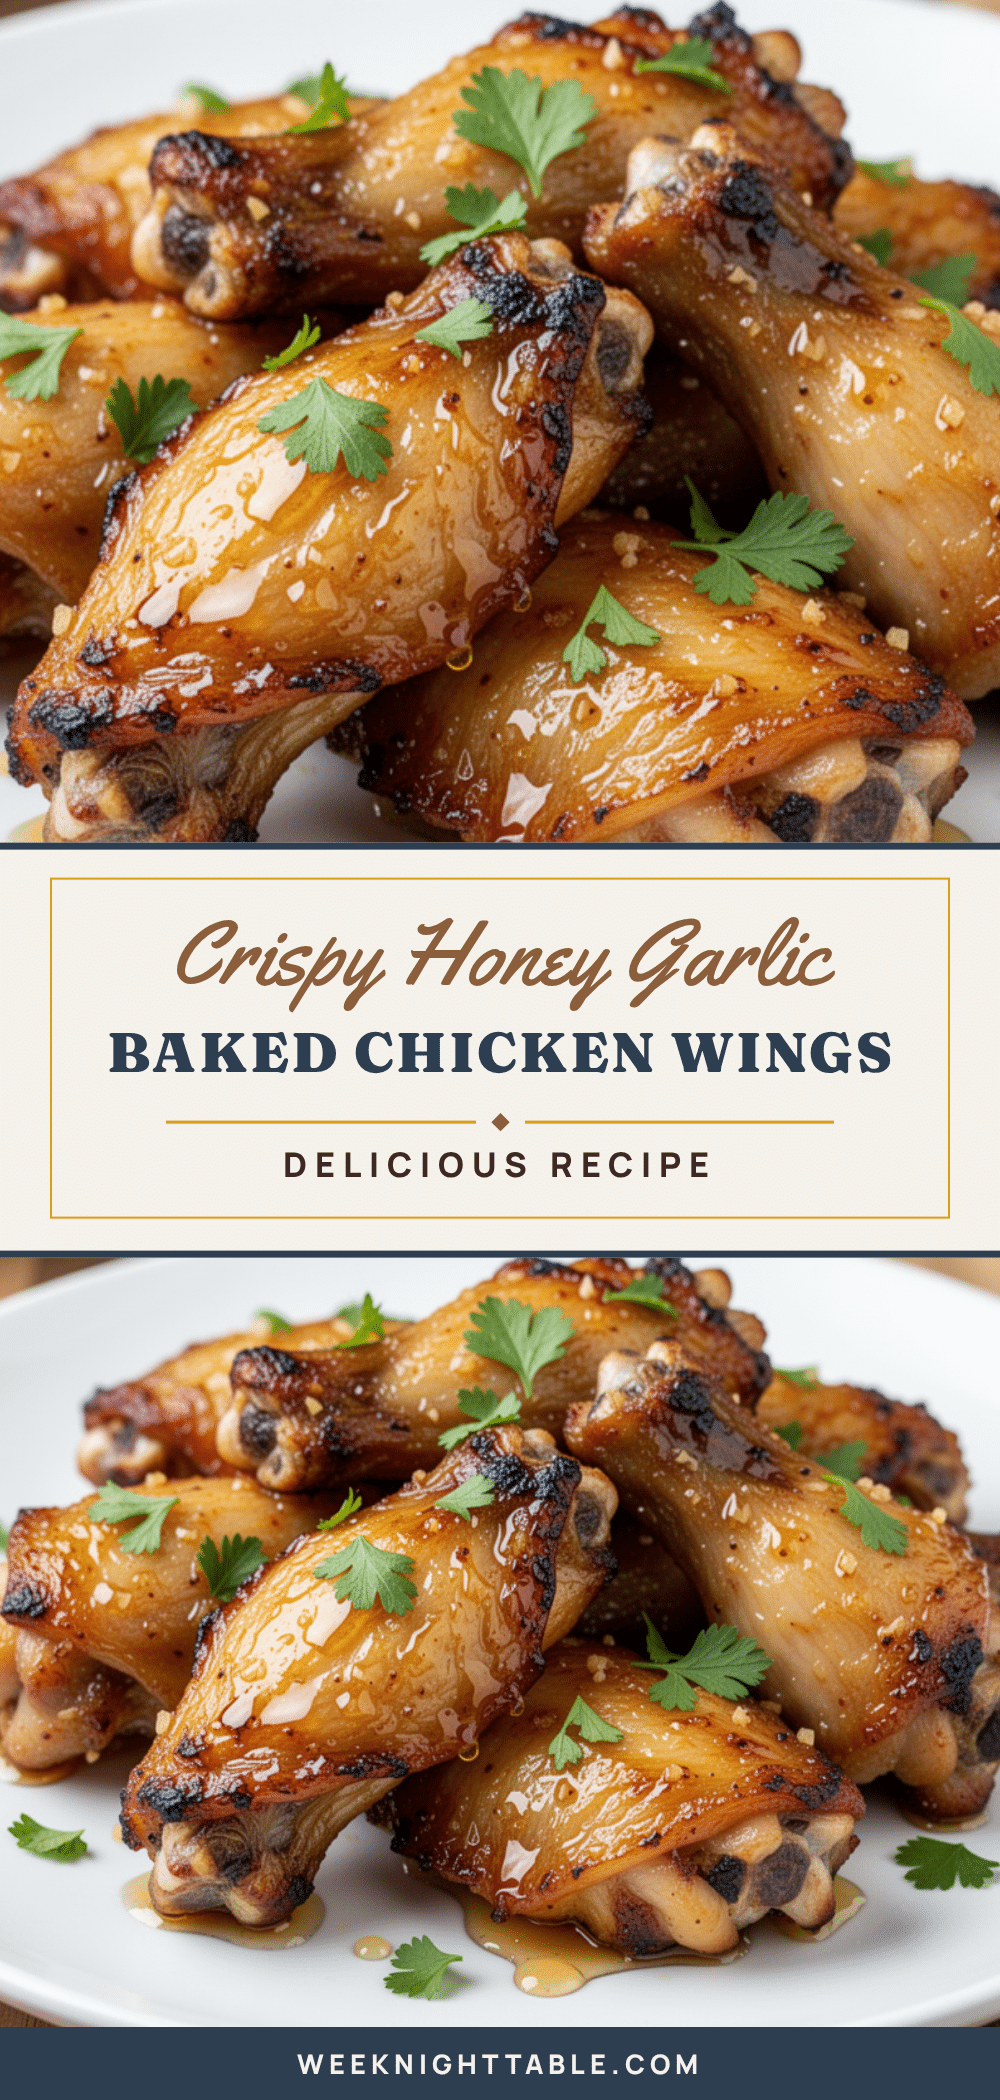
Crispy Honey Garlic Baked Chicken Wings
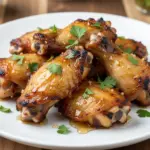
These Crispy Honey Garlic Baked Chicken Wings offer a shatteringly crisp exterior and juicy interior, coated in a sticky, sweet, and savory glaze. Ready in under 45 minutes, this reliable recipe uses a double-coating technique with cornstarch to ensure maximum crunch without deep frying.
- Prep Time: 15 minutes
- Cook Time: 45 minutes
- Total Time: 60 minutes
- Yield: 4 servings 1x
- Category: Appetizer
- Cuisine: American
Ingredients
- 3 pounds chicken wings (wingettes and drumettes)
- 1/2 cup honey
- 2 tablespoons soy sauce (low-sodium or gluten-free tamari)
- 4 cloves fresh garlic, minced finely
- 1 tablespoon rice vinegar
- 1 teaspoon Sriracha or chili flakes (optional)
- 1/2 cup cornstarch
- 1 teaspoon garlic powder
- Salt and black pepper to taste
- 1 tablespoon vegetable oil
Instructions
- Preheat oven to 400°F (200°C). Line a large rimmed baking sheet with parchment paper or a silicone mat.
- Pat chicken wings thoroughly dry with paper towels to remove excess moisture.
- In a large bowl, toss wings with salt, pepper, and garlic powder.
- Sprinkle cornstarch over the wings and toss until lightly and evenly coated. Shake off any excess clumps.
- Arrange wings in a single layer on the prepared baking sheet, ensuring they do not touch.
- Bake for 25 minutes, then flip wings carefully.
- Bake for another 15-20 minutes until skin is golden brown and crispy.
- While wings bake, whisk together honey, soy sauce, minced garlic, rice vinegar, and chili flakes in a small bowl.
- Warm the glaze slightly in the microwave for 10-15 seconds to loosen it.
- Remove crispy wings from the oven and immediately transfer to a large clean bowl.
- Pour warm glaze over hot wings and toss gently until evenly coated.
- Serve immediately while still crisp.
Notes
Ensure wings are completely dry before coating to achieve maximum crispiness. Do not overcrowd the pan, as wings will steam instead of bake. If using frozen wings, ensure they are fully thawed and patted dry. The cornstarch coating is essential for the crunchy texture; do not substitute with flour.
Nutrition
- Serving Size: Approximately 12-15
- Calories: 450
- Sugar: 24
- Sodium: 650
- Fat: 28
- Saturated Fat: 7
- Carbohydrates: 35
- Fiber: 1
- Protein: 18
Keywords: chicken wings, honey garlic wings, baked wings, crispy wings, game day food, easy dinner, gluten-free option