He didn’t say anything at first. He just looked at those golden-brown, crispy-edged wedges of acorn squash sitting there in the afternoon light, steam rising gently from the brown butter sauce. I was still wiping down the counter, thinking about whether I’d burned the sage or if the butter had gotten too dark. It’s one of those moments in the kitchen where your heart hitches in your throat, waiting for the verdict.
Then he took a bite. Just one. He chewed slowly, his eyebrows lifting up toward his hairline in that classic “wait, what is this?” expression. He looked at me, then back at the squash, and asked if I’d made the crust myself. I told him it was just butter, flour, and sage. He shook his head like he didn’t believe me, saying it tasted like something from a fancy restaurant in Vermont, not my Tuesday night dinner.
This happened about three weeks ago, and since then, he’s asked for Crispy Brown Butter Sage Acorn Squash at least four times. That’s not a typo. Four times in three weeks. Now, I know what you’re thinking. Acorn squash is usually the side dish that gets pushed to the edge of the plate, the one that’s a little too much work to carve properly. But this version? It’s different. It’s sweet, it’s savory, and it has this incredible crunch that makes you forget you’re eating vegetables.
I used to think that making acorn squash worth eating required a complicated recipe with ten ingredients and an hour of prep time. I was wrong. This method is so simple that it feels like a cheat code. You roast the squash until it’s tender, then toss it in a skillet with browned butter and fresh sage leaves. The result is nutty, aromatic, and surprisingly easy to pull off on a weeknight. It’s become our go-to comfort food when the weather turns cold and we just want something warm and satisfying without spending hours in the kitchen.
What started as a quick experiment with some leftover squash has turned into a ritual. I love that it brings my husband to the table, phone away, eyes on his food. It’s not just about the taste, though the flavor is incredible. It’s about that quiet moment of satisfaction when you know you’ve made something special with simple ingredients. If you’re skeptical about squash, or if you think you don’t like it, trust me on this one. You’ll be asking for seconds before you know it.
Why You’ll Love This Recipe
There is a specific kind of magic that happens when you combine the earthy sweetness of acorn squash with the nutty depth of brown butter. This isn’t just another roasted vegetable recipe; it’s a technique-driven dish that transforms a humble winter squash into a show-stopping side. I’ve tested dozens of ways to cook acorn squash, from boiling it (don’t do that) to microwaving it (too soggy), but the crispy brown butter method is the only one that delivers on both texture and flavor.
- Quick & Easy: While the squash roasts, you can prep the rest of your meal. The actual tossing in the butter takes less than five minutes, making this perfect for busy weeknights or last-minute dinner parties.
- Simple Ingredients: You likely already have everything you need in your pantry and fridge. Acorn squash, butter, flour, and fresh sage are all you need. No fancy grocery trips required.
- Perfect for Autumn: This dish captures the essence of fall. It’s ideal for cozy dinners, holiday mornings, or when you just need a warm hug on a plate.
- Crowd-Pleaser: Even people who claim they “don’t like vegetables” usually love this. The crunch and the savory sage flavor win everyone over.
- Unbelievably Delicious: The texture contrast between the tender inside and the crispy, buttery outside is next-level comfort food.
What makes this recipe stand out from the rest is the breading technique. By tossing the roasted squash wedges in a light dusting of flour before frying them in brown butter, you create a delicate crust that holds the sauce and adds a satisfying crunch. It’s a small step that makes a huge difference. This isn’t just roasted squash with butter on top; it’s a crafted dish that feels intentional and delicious.
It’s the kind of recipe that makes you close your eyes after the first bite. It’s comfort food reimagined—simpler, faster, but with the same soul-soothing satisfaction. Whether you’re impressing guests or just treating yourself to something nice, this Crispy Brown Butter Sage Acorn Squash will become a staple in your rotation.
What Ingredients You Will Need
This recipe relies on high-quality, simple ingredients to deliver bold flavor without any fuss. The beauty of this dish is that the ingredients speak for themselves, so choosing the best quality you can find will make a noticeable difference in the final result. Here is everything you’ll need to get started.
For the Squash
- Acorn Squash: One large squash, or two medium ones. Look for squash that feels heavy for its size with a hard shell. (Adds the main substance)
- Neutral Oil: About 2 tablespoons of olive oil or avocado oil for roasting. (Helps the squash brown in the oven)
- Salt: Kosher salt, to taste. (Essential for bringing out the natural sweetness)
For the Brown Butter Sage Coating
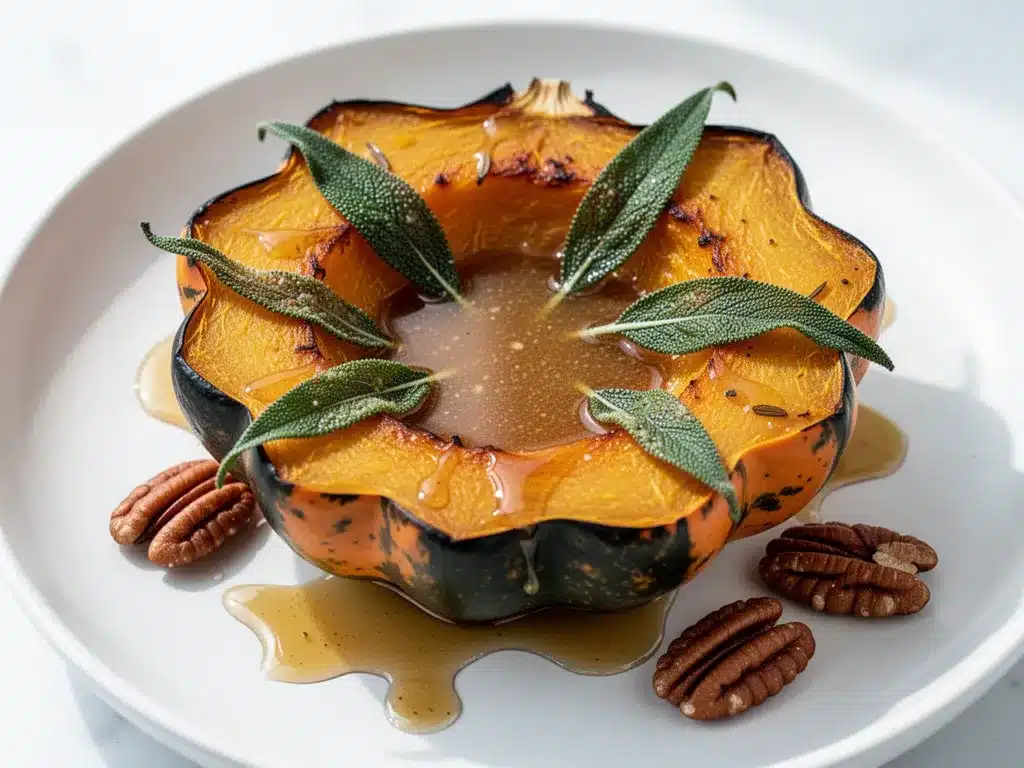
- Unsalted Butter: 4 to 5 tablespoons. I recommend using a high-quality European-style butter like Plugrá or Kerrygold for a richer flavor and better browning. (Provides the nutty base)
- All-Purpose Flour: 2 tablespoons. This creates the light crust that crisps up in the butter. (Adds texture)
- Fresh Sage Leaves: 10 to 12 large leaves. Fresh is non-negotiable here; dried sage lacks the aromatic punch. (Adds herbal fragrance)
- Black Pepper: Freshly cracked, to taste. (Adds a bit of heat to balance the sweetness)
If you want to get fancy, you can add a pinch of red pepper flakes for a little kick, or a drizzle of maple syrup for extra sweetness, but the classic version is hard to beat. The key is to use fresh sage leaves that are dry before adding them to the hot butter, so they crisp up perfectly instead of steaming.
Equipment Needed
You don’t need a fancy kitchen to make this, but having the right tools makes the process smoother. You’ll need a large baking sheet lined with parchment paper or a silicone mat. Parchment is easier for cleanup, while silicone mats are great for even browning. A large skillet is crucial for the final step; I prefer a cast-iron skillet because it holds heat well and helps the squash crisp up evenly, but a stainless steel or heavy-bottomed non-stick pan works too.
You’ll also need a sharp chef’s knife and a sturdy cutting board. Acorn squash can be tough to cut, so make sure your knife is sharp to avoid slipping. A small whisk or spoon for stirring the butter in the pan, and a slotted spoon or spatula for tossing the squash. If you’re worried about splatter, a splatter screen is a good investment, though you’ll likely only need it for the first minute of frying. Keep it simple and budget-friendly; most of these items are probably already in your drawer.
Preparation Method
- Prep the Squash (15 minutes): Preheat your oven to 400°F (200°C). Line a large baking sheet with parchment paper. Using a sharp chef’s knife, carefully cut the acorn squash in half from stem to base. Scoop out the seeds and stringy pulp with a spoon. Then, cut each half into 4 to 6 wedges, depending on how thick you like your pieces. Keep the skin on; it adds texture and holds the shape better.
- Roast the Squash (35-40 minutes): Place the squash wedges on the prepared baking sheet in a single layer. Drizzle with the neutral oil and sprinkle generously with kosher salt. Toss them with your hands to coat evenly. Roast in the preheated oven for 35 to 40 minutes, flipping them halfway through. You want the squash to be tender when pierced with a fork and slightly caramelized on the edges. Remove from the oven and set aside.
- Brown the Butter (5 minutes): While the squash is roasting, place your large skillet over medium heat. Add the unsalted butter and let it melt. Once melted, it will start to foam. Swirl the pan occasionally. The butter will turn from yellow to a deep golden amber color and emit a nutty aroma. This usually takes about 3 to 5 minutes. Be careful not to let it burn; if it turns dark brown or smells acrid, it’s too far gone. Remove the pan from the heat immediately once it’s perfect.
- Crisp the Sage (1 minute): Return the skillet to low heat if you removed it. Add the fresh sage leaves to the brown butter. Fry them for about 30 seconds to 1 minute, just until they are crisp and dark green. Remove the sage leaves with a slotted spoon and set them aside on a paper towel to drain. This prevents them from getting soggy when added back to the squash.
- Toss and Serve (5 minutes): Return the roasted squash wedges to the skillet with the remaining brown butter. Sprinkle the flour over the squash and gently toss to coat. The flour will absorb some of the butter and create a light crust. Cook for 2-3 minutes, stirring gently, until the flour is cooked through and the squash is heated through and crispy. Return the crispy sage leaves to the pan and toss gently to combine. Season with freshly cracked black pepper and a final pinch of salt if needed. Serve immediately while hot and crispy.
Cooking Tips & Techniques
Browning butter can be tricky if you’re not used to it. The key is to watch it closely. It goes from perfect to burnt in seconds. The smell is your best indicator: when it smells like toasted nuts or hazelnuts, it’s ready. If you’re worried about burning it, you can remove the pan from the heat when it’s still a light golden color, as the residual heat will continue to cook it.
Another common mistake is overcrowding the pan. When you toss the squash in the skillet, make sure it’s not too crowded. If you have a lot of squash, do it in two batches. This ensures that the flour creates a crust rather than just making a paste. Also, make sure your sage leaves are completely dry before adding them to the hot butter. Wet sage will splatter and won’t crisp up properly.
Don’t skip the flour step. It might seem unnecessary, but it’s what gives the squash that restaurant-quality crunch. The flour absorbs the moisture from the roasted squash and fries in the butter, creating a delicate, crispy coating. It’s a simple trick that elevates the dish from good to great.
Variations & Adaptations
While the classic version is delicious, there are plenty of ways to customize this recipe. For a gluten-free option, you can substitute the all-purpose flour with almond flour or cornstarch. Almond flour adds a nice nutty flavor that complements the squash, while cornstarch creates a lighter, crispier crust. If you’re dairy-free, you can use ghee or a high-quality vegan butter alternative, though the flavor will be slightly different.
For a spicy twist, add a pinch of red pepper flakes or a dash of cayenne pepper to the butter. This pairs beautifully with the sweetness of the squash. You can also add other herbs like thyme or rosemary, but sage is the traditional pairing and works best. If you want to add protein, toss in some crumbled crispy bacon or pancetta along with the sage leaves for a savory, smoky flavor.
Seasonally, you can swap the acorn squash for butternut squash or pumpkin, though the cooking time may vary slightly. Acorn squash has a unique shape and texture that holds up well to this method, but other squashes work too. I’ve even tried this with roasted sweet potato wedges, and it was a hit. The possibilities are endless.
Serving & Storage Suggestions
This dish is best served immediately while the squash is still hot and the sage is crispy. It pairs wonderfully with roasted chicken, pork chops, or a simple green salad. A drizzle of balsamic glaze can add a nice tangy contrast to the sweet squash. For storage, let any leftovers cool completely before transferring them to an airtight container. They will keep in the refrigerator for up to 3 days.
To reheat, avoid the microwave as it will make the squash soggy. Instead, reheat them in a skillet over medium heat for a few minutes to restore the crispiness, or in the oven at 350°F for 10-15 minutes. The flavors actually meld together nicely over time, making it a great make-ahead option for meal prep. Just add the crispy sage leaves fresh when serving to maintain their texture.
Nutritional Information & Benefits
Acorn squash is a nutritional powerhouse, packed with vitamins A and C, potassium, and fiber. It’s a low-calorie, nutrient-dense vegetable that supports immune health and digestion. The brown butter adds richness and flavor, but in moderation, it fits into a balanced diet. This recipe is naturally gluten-free if you use cornstarch or almond flour, and it can be made dairy-free with alternatives. It’s a wholesome side dish that feels indulgent but is actually quite healthy.
Conclusion
This Crispy Brown Butter Sage Acorn Squash is more than just a side dish; it’s a reminder that simple ingredients can create something extraordinary. The combination of sweet squash, nutty butter, and crispy sage is a flavor profile that never gets old. I love making this because it’s easy, forgiving, and always turns out delicious. Whether you’re a squash lover or a skeptic, this recipe will win you over.
I encourage you to try it and see how your family reacts. Feel free to adjust the seasoning or add your own twists to make it your own. And if you do, I’d love to hear about it in the comments below! Share your photos or variations. Cooking is better when we share it. Thank you for reading, and happy cooking!
FAQs
Can I use frozen sage leaves?
Fresh sage is highly recommended for the best texture and flavor. Frozen sage can become mushy when fried and won’t crisp up properly. If you must use dried sage, use about 1 teaspoon, but note that the flavor will be less vibrant.
How do I know when the butter is browned?
Watch for the foam to subside and the milk solids at the bottom of the pan to turn golden brown. The butter will smell nutty, like toasted hazelnuts. If it smells burnt, start over.
Can I make this ahead of time?
You can roast the squash ahead of time, but it’s best to toss it in the brown butter and sage just before serving to maintain the crispiness. Reheating in the oven or skillet will help restore some of the texture.
What other herbs go well with brown butter?
Thyme, rosemary, and parsley are all good alternatives or additions to sage. Sage, however, is the classic pairing with squash and butter.
Can I use butternut squash instead?
Yes, you can use butternut squash. Cut it into cubes or wedges and roast it until tender. The cooking time may be slightly shorter, so keep an eye on it.
Pin This Recipe!
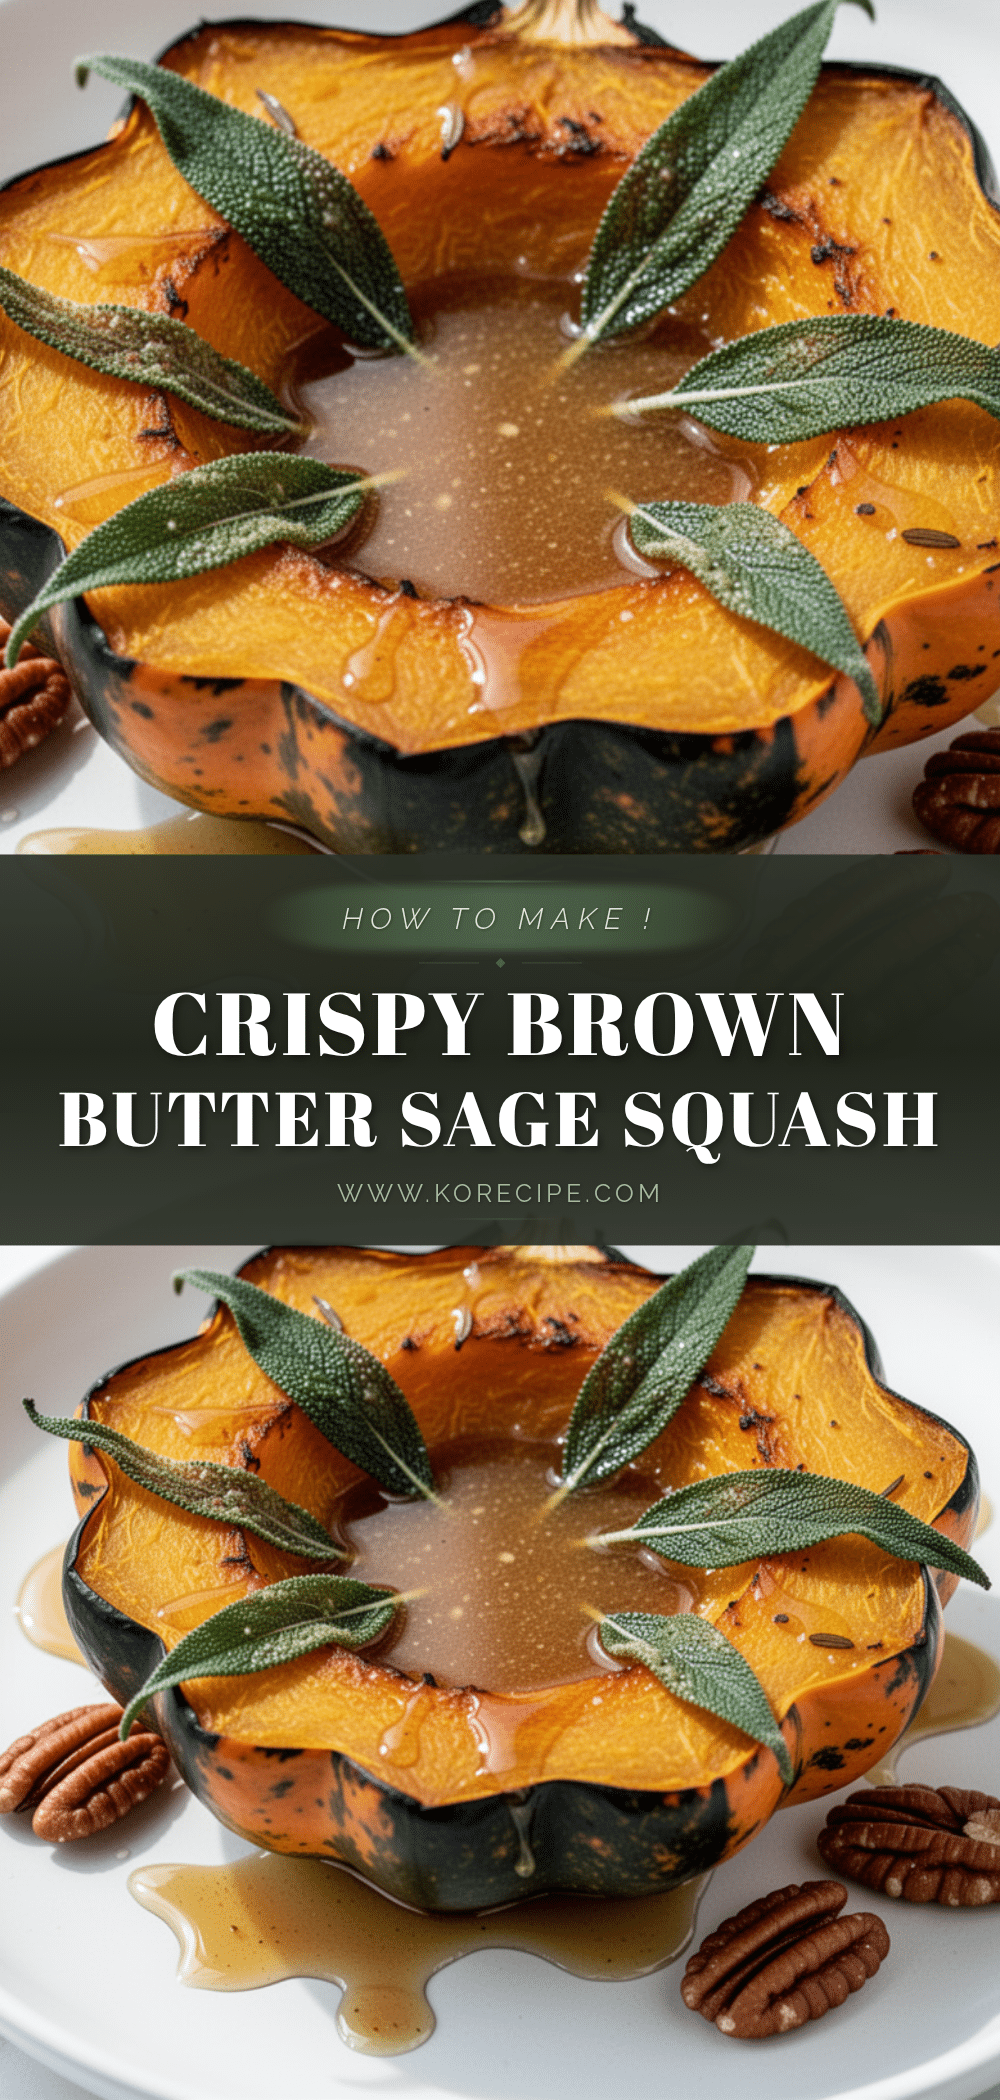
Crispy Brown Butter Sage Acorn Squash

A simple yet elegant side dish featuring roasted acorn squash wedges tossed in a nutty brown butter sauce with fresh sage and a light flour crust for extra crunch.
- Prep Time: 15 minutes
- Cook Time: 45 minutes
- Total Time: 60 minutes
- Yield: 4 servings 1x
- Category: Side Dish
- Cuisine: American
Ingredients
- 1 large acorn squash (or 2 medium)
- 2 tablespoons neutral oil (olive or avocado oil)
- Kosher salt, to taste
- 4 to 5 tablespoons unsalted butter
- 2 tablespoons all-purpose flour
- 10 to 12 large fresh sage leaves
- Freshly cracked black pepper, to taste
Instructions
- Preheat oven to 400°F (200°C). Line a large baking sheet with parchment paper.
- Cut the acorn squash in half, scoop out seeds and pulp, and cut into 4-6 wedges per half, keeping the skin on.
- Place squash wedges on the baking sheet in a single layer. Drizzle with oil and sprinkle with salt. Toss to coat evenly.
- Roast for 35-40 minutes, flipping halfway through, until tender and slightly caramelized. Remove from oven.
- While squash roasts, melt butter in a large skillet over medium heat. Swirl occasionally until butter turns deep golden amber and smells nutty (3-5 minutes). Remove from heat immediately if it starts to burn.
- Return skillet to low heat. Add sage leaves and fry for 30 seconds to 1 minute until crisp. Remove sage with a slotted spoon and set aside on a paper towel.
- Return roasted squash to the skillet with remaining brown butter. Sprinkle flour over squash and gently toss to coat.
- Cook for 2-3 minutes, stirring gently, until flour is cooked through and squash is crispy.
- Return crispy sage leaves to the pan and toss to combine. Season with black pepper and additional salt if needed. Serve immediately.
Notes
Ensure sage leaves are completely dry before adding to hot butter to prevent splattering and ensure crispiness. Do not overcrowd the pan when tossing squash to ensure the flour creates a crust rather than a paste. Brown butter goes from perfect to burnt quickly, so watch closely and rely on the nutty aroma. For a gluten-free version, substitute all-purpose flour with almond flour or cornstarch. For dairy-free, use ghee or vegan butter.
Nutrition
- Serving Size: Wedges
- Calories: 220
- Sugar: 5
- Sodium: 350
- Fat: 14
- Saturated Fat: 7
- Carbohydrates: 22
- Fiber: 4
- Protein: 3
Keywords: acorn squash, brown butter, sage, side dish, vegetarian, fall recipes, roasted squash, crispy vegetables, easy dinner