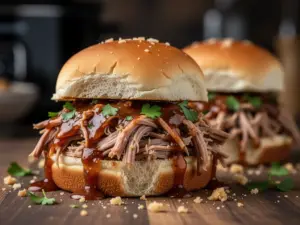
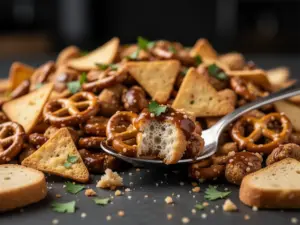
The game had ended hours ago, but the silence felt too heavy. I wasn’t hungry for a “meal.” I wasn’t hungry for something that required chopping, sautéing, or standing over a hot stove while the rest of the world slept. I just wanted that specific, heavy comfort of melted cheese and crispy chips. You know the feeling. It’s less about hunger and more about needing a warm, salty hug from your kitchen.
I looked at the clock again. 11:47 PM. If I tried to make anything fancy, I’d be up until 1 AM. If I made a sandwich, I’d wake up feeling sluggish. So, I did what any tired, late-night cook does. I raided the pantry. I found a bag of sturdy tortilla chips that had survived the trip home from the store. I grabbed the jar of queso, a can of black beans, and a handful of shredded cheddar that was starting to clump slightly in the back of the fridge.
I didn’t have a plan. I didn’t have a recipe card. I just dumped it all into a casserole dish. I tossed in some diced green chiles for a little kick, threw in a few leftover jalapeños, and sprinkled it all with a pinch of cumin. I stuck it in the oven at 375°F and waited. While it bubbled, I sat on the kitchen floor, leaning against the dishwasher, and just breathed. The smell of toasting cheese and warming spices filled the small apartment. It smelled like safety. It smelled like weekend football, even though it was a random Tuesday in November.
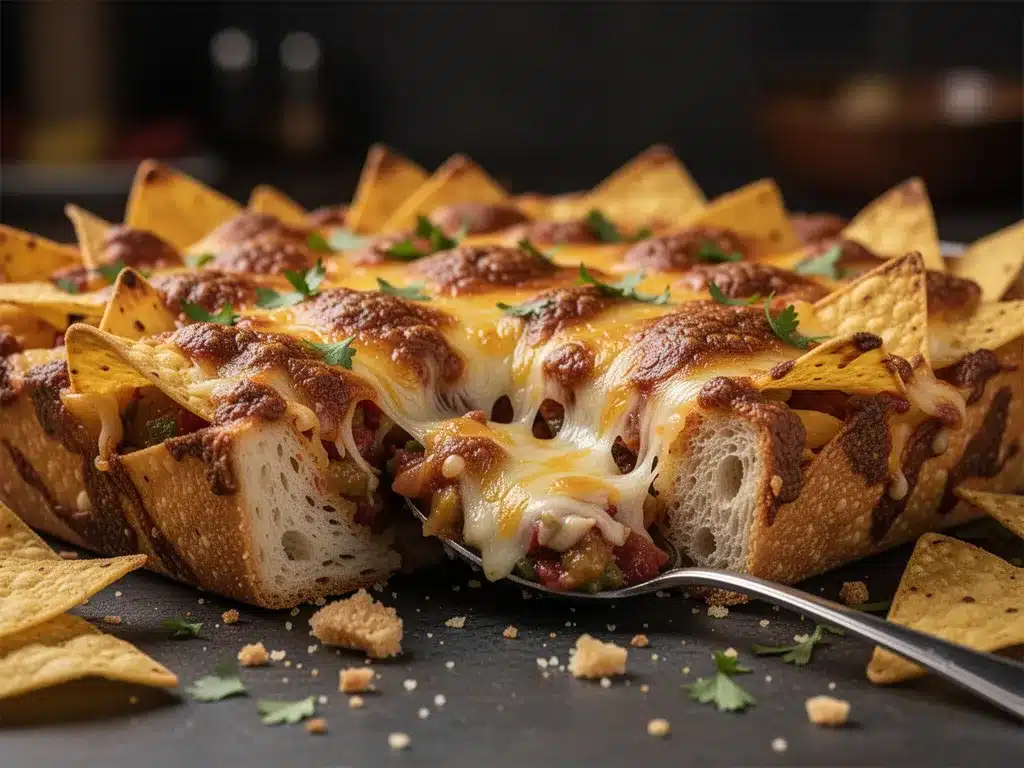
When I pulled it out, the cheese was golden in spots and molten in others. The chips had softened just enough to hold together but still had a crunch. I ate it straight from the dish with a fork, sitting there in the dark. It wasn’t gourmet. It wasn’t pretty. But it was exactly what I needed. That’s the thing about Best Dump-and-Bake Cheesy Tailgate Nachos. They aren’t about presentation. They are about that moment when the effort drops away, and all that’s left is the flavor. This recipe is for those late nights, those chaotic Sundays, and those times when you just need something that works without asking too much of you.
Why You’ll Love This Recipe
Let’s be honest for a second. Most nacho recipes online feel like they were written by people who have way too much time on their hands. They talk about layering sauce on each individual chip. They require making a fresh salsa from scratch. They demand that you fry your own jalapeño rings. I get it. I love good food. But when I want nachos, I want them to feel like a party, not a project.
This version is different because it respects your time. It’s built on the principle that the best comfort food should be accessible the moment you get the urge. Here is why this specific dump-and-bake method wins every single time:
- Quick & Easy: You literally dump the ingredients into a dish. There is no chopping vegetables (unless you want to), no making sauces from scratch, and no multi-step cooking processes. It comes together in under 15 minutes of prep, with the rest of the time spent waiting for the oven to do its magic. Perfect for busy weeknights or last-minute cravings when you’re hungry right now.
- Simple Ingredients: No fancy grocery trips needed. You likely already have everything in your kitchen. Tortilla chips, cheese, beans, and a few pantry staples. This isn’t about buying expensive, hard-to-find items. It’s about using what you have to make something extraordinary.
- Perfect for Game Day: Great for tailgates, Super Bowl parties, or cozy dinners at home. Because it’s baked in a large dish, it’s easy to transport or just sit on the coffee table. It scales up easily if you have a crowd, or you can halve it for a quiet night in.
- Crowd-Pleaser: Always gets rave reviews from kids and adults alike. Kids love the cheese pull. Adults love the fact that they didn’t have to work for it. It’s a universal win.
- Unbelievably Delicious: The texture and flavor combo is next-level comfort food. The key is the baking method. By baking the chips with the toppings, the chips absorb the flavors of the beans and cheese without turning soggy. They get slightly crisp on the edges and soft in the middle. It’s a textural dream.
What makes this recipe stand out from the rest is the balance. Many dump-and-bake recipes end up mushy. This one doesn’t, because we use a sturdy chip and a controlled amount of moisture. It’s not just another version of nachos—it’s the best version. It’s the kind that makes you close your eyes after the first bite because the salt and fat hit all the right spots. It’s comfort food reimagined for the modern, tired cook. It turns a simple snack into a memorable meal without the stress.
What Ingredients You Will Need
This recipe uses simple, wholesome ingredients to deliver bold flavor and satisfying texture without the fuss. You don’t need a specialty store for this. You need pantry staples that you probably already have. The magic here is in the combination of salty, creamy, and spicy elements that come together in the oven.
- Tortilla Chips: You need about 12-14 ounces of sturdy, thick-cut tortilla chips. Avoid the thin, fragile ones that break into dust. Look for brands like Sabritas or Tostitos Hint of Lime, which hold up well to baking. The chips are the foundation, so if they’re too weak, the whole dish collapses.
- Shredded Cheddar Cheese: Use about 2 cups of shredded cheddar. I recommend using a block of cheese and grating it yourself. Pre-shredded cheese contains anti-caking agents (like cellulose) that prevent it from melting smoothly. You want that gooey, stringy melt, not a grainy mess. If you must use pre-shredded, mix it with a little cornstarch to help it bind.
- Black Beans: One 15-ounce can of black beans, rinsed and drained. These add protein and heartiness. They also help keep the chips from getting too dry. If you’re out of black beans, pinto beans or kidney beans work just as well.
- Queso Sauce: One 10-ounce jar of store-bought queso blanco or yellow queso. This is the secret weapon. It adds creaminess and a tangy flavor that cheddar alone can’t provide. I prefer brands like Pace or Herdez for a authentic taste. If you want to be fancy, you can melt cream cheese with salsa, but the jar is faster and consistent.
- Green Chiles: One 4-ounce can of diced green chiles, undrained. The liquid from the can adds moisture and heat. It’s essential for keeping the nachos from drying out. If you can’t find canned chiles, you can use fresh jalapeños, but you’ll need to chop them finely and add a splash of water.
- Ground Beef or Turkey (Optional): If you want to make this a full meal, add 1 pound of cooked ground beef or turkey seasoned with taco seasoning. Brown the meat, drain the fat, and mix it in. For a vegetarian version, skip this or add extra beans.
- Seasonings: 1 teaspoon of cumin, 1 teaspoon of chili powder, and ½ teaspoon of garlic powder. These dry spices wake up the beans and cheese. Don’t skip them. They add depth that the jarred queso lacks.
- Toppings (Added After Baking): Diced tomatoes, sliced jalapeños, chopped cilantro, and sour cream. These are added after baking to keep them fresh and vibrant. The heat of the nachos will slightly wilt the cilantro, which is perfect.
Equipment Needed
You don’t need a lot of fancy tools for this. In fact, the beauty of this recipe is its simplicity. Here is what you’ll need:
- Large Baking Dish: A 9×13 inch casserole dish or baking pan. Glass or ceramic works best because it distributes heat evenly. If you don’t have one, a large sheet pan works, but the chips may burn faster, so watch them closely.
- Oven: Obviously. Preheated to 375°F (190°C).
- Measuring Cups and Spoons: For the spices and cheese. Accuracy helps, but this recipe is forgiving.
- Colander: For rinsing the beans. This is crucial. Wet beans make soggy nachos. Drain them well.
- Spatula: To mix everything together. A flat spatula helps spread the chips evenly in the dish.
If you don’t have a 9×13 dish, you can use two smaller 8×8 dishes. Just adjust the baking time slightly. Also, if you’re baking on a sheet pan, place it on the middle rack to avoid burning the bottoms. I’ve learned this the hard way. One time I used a thin metal pan and the chips burned before the cheese melted. Lesson learned.
Preparation Method
Let’s get this done. It’s fast, so don’t overthink it.
- Preheat the Oven: Set your oven to 375°F (190°C). This needs to be hot enough to melt the cheese quickly but not so hot that the chips burn. Take about 5 minutes to get it ready.
- Prepare the Chips: Pour the tortilla chips into your large baking dish. Spread them out in an even layer. You want to cover the bottom of the dish completely. If you have a few broken chips, save them for the top layer or eat them as you go. No judgment here.
- Mix the Toppings: In a large bowl, combine the rinsed black beans, the jar of queso sauce, the diced green chiles (with their liquid), and the ground spices (cumin, chili powder, garlic powder). If you are using cooked ground beef, add it here. Stir everything together until the beans are coated in the cheesy mixture. This step ensures every chip gets flavor.
- Combine: Pour the bean and cheese mixture over the chips in the baking dish. Use your spatula to gently spread it around. Try to get some of the mixture under the chips in spots, not just on top. This helps the chips absorb the flavor.
- Add the Cheese: Sprinkle the shredded cheddar cheese evenly over the top. Don’t be shy with the cheese. You want a thick layer. If you have extra cheese, save some for later, but for this recipe, go all in.
- Bake: Place the dish in the preheated oven. Bake for 10-12 minutes. You are looking for the cheese to be completely melted and bubbly. The edges of the chips should be slightly golden. If you see dark spots, take it out. Burnt chips are bitter.
- Rest: Remove the dish from the oven. Let it sit for 2-3 minutes. This is important. It allows the cheese to set slightly so it doesn’t slide off when you scoop. It also lets the chips firm up a bit.
- Add Fresh Toppings: While the nachos rest, dice your tomatoes and chop your cilantro. Slice your jalapeños. Once the nachos come out of the oven, sprinkle the fresh toppings over the hot cheese. The residual heat will warm the tomatoes and wilt the cilantro just enough.
- Serve: Serve immediately. This is not a make-ahead dish. The chips will get soggy if you let them sit. Grab a spatula, scoop out a big portion, and eat.
How do I keep the chips from getting soggy?
The key is to not add too much liquid. The queso and green chiles provide enough moisture. If you add salsa or sour cream before baking, the chips will turn to mush. Always add wet toppings after baking.
Can I use different chips?
You can use corn chips (Fritos) or even potato chips, but corn chips are best. They hold up better to the heat and the moisture. Avoid thin, delicate chips.
What if I don’t have queso?
You can substitute with a mixture of cream cheese and salsa. Melt 8 ounces of cream cheese with ½ cup of salsa until smooth, then use that instead of the jarred queso. It takes a little longer but tastes great.
Cooking Tips & Techniques
After making dozens of batches of these nachos, I’ve learned a few tricks that make a huge difference.
Don’t Overcrowd the Dish: If you try to make a huge batch in a small dish, the bottom layer will steam instead of bake. Use a large dish. If you’re feeding a crowd, make two batches or use a larger pan. One layer of chips is ideal.
Grate Your Own Cheese: I cannot stress this enough. Pre-shredded cheese has cornstarch. It melts, but it doesn’t melt *well*. It can be grainy. A block of sharp cheddar melts into a silky, smooth sauce that coats every chip. It’s worth the extra two minutes.
Watch the Oven: Ovens vary. One oven might run hot, another might run cool. Check your nachos at the 8-minute mark. If the cheese is bubbling and golden, they’re done. If the cheese is still white and the chips are pale, give them another 2-3 minutes. Don’t walk away. Burnt cheese smells terrible and tastes bitter.
Season the Beans: Even though you’re adding spices to the mixture, taste the beans first. If they taste bland, add a pinch of salt. Beans can be bland, and they need salt to pop.
Use Sturdy Chips: This is the most common mistake. People use thin, fragile chips. They break when you scoop them, and they get soggy instantly. Buy the thickest, heaviest tortilla chips you can find. They are designed to hold up to dips and toppings.
Layer Wisely: Some people prefer to layer: chips, then beans, then cheese, then chips again. This works, but for a dump-and-bake recipe, mixing it all together is easier and ensures every bite has flavor. Just make sure the top layer has plenty of cheese.
Variations & Adaptations
This recipe is a canvas. You can change it up based on what you have or what you’re in the mood for.
Vegetarian Version: Skip the ground beef. Add an extra can of beans or some corn kernels. You can also add sautéed mushrooms or bell peppers for extra texture. The beans and cheese are enough to make it filling.
Spicy Kick: If you like heat, add diced jalapeños to the mixture before baking. Use a spicy queso or mix in some hot sauce. Top with extra jalapeños after baking. For a different kind of heat, try adding a pinch of cayenne pepper to the spice mix.
Breakfast Nachos: Swap the black beans for refried beans. Add cooked breakfast sausage or bacon. Use a pepper jack cheese instead of cheddar. Top with a fried egg after baking. This is a great brunch option.
BBQ Chicken Nachos: Use shredded rotisserie chicken instead of beef. Swap the queso for a BBQ sauce base. Use a mix of cheddar and Monterey Jack cheese. Top with red onions and cilantro. This is a fan favorite.
Gluten-Free Option: Make sure your tortilla chips are certified gluten-free. Most corn chips are, but some are processed in facilities with wheat. Check the label. The rest of the ingredients are naturally gluten-free, but always double-check labels for sauces and cheeses.
Dairy-Free Option: Use a dairy-free queso alternative and dairy-free shredded cheese. Many brands have improved significantly in recent years. It won’t melt exactly the same way, but it still tastes good. Top with avocado instead of sour cream.
Serving & Storage Suggestions
Serving: Serve these immediately out of the oven. They are best when the cheese is still gooey. Pair them with a cold beer, a glass of iced tea, or a light salad to balance the richness. If you’re serving a crowd, set up a topping bar with sour cream, guacamole, salsa, and lettuce so everyone can customize their portion.
Storage: Leftovers are tricky. Nachos are best fresh. If you must store them, let them cool completely, then cover tightly with plastic wrap or aluminum foil. They will keep in the refrigerator for up to 2 days. However, the chips will soften over time.
Reheating: To reheat, place the nachos in a 350°F oven for 10-15 minutes. This helps crisp the chips back up. Avoid the microwave, as it will make the chips chewy and soggy. If you use the microwave, do it in short bursts and let them sit to cool slightly.
Freezing: I don’t recommend freezing nachos. The chips lose their texture completely. They become hard or mushy depending on how they are stored. It’s better to make a fresh batch. If you have leftover toppings, you can freeze the bean mixture and cheese separately, but the chips should always be fresh.
Nutritional Information & Benefits
Let’s talk about nutrition. These nachos are indulgent, but they can be part of a balanced meal if you’re mindful.
Estimated Nutrition: One serving (approximately 1 cup) contains about 350-400 calories. This includes 15g of protein, 20g of fat, and 35g of carbohydrates. The fiber comes from the black beans, which is a nice bonus. The sodium content can be high, so if you’re watching your salt intake, look for low-sodium beans and queso.
Health Benefits: Black beans are a great source of plant-based protein and fiber. They help keep you full and stabilize blood sugar. Cheddar cheese provides calcium and protein. If you add vegetables like tomatoes and peppers, you get added vitamins A and C.
Dietary Considerations: As mentioned, this can be made vegetarian, gluten-free, or dairy-free with substitutions. For a lower-carb option, you can use baked tortilla chips or even crushed pork rinds as a base. The toppings are easily customizable to fit most diets.
Personal Wellness Perspective: I don’t eat nachos every day. They are a treat. But when I do eat them, I make them with good ingredients. I use real cheese, I rinse my beans, and I add veggies. It’s about balance. These nachos satisfy the craving without leaving you feeling guilty, especially if you pair them with a light side dish.
Conclusion
There is something magical about a dish that requires so little effort but delivers so much joy. The Best Dump-and-Bake Cheesy Tailgate Nachos are exactly that. They are for the late nights, the busy weeknights, and the big game days. They are for when you want to feed a crowd or just treat yourself to a quiet moment of comfort.
I hope you try this recipe. I hope you make it your own. Add the toppings you love. Skip the ones you don’t. Use the chips you have. The beauty of this recipe is its flexibility. It’s a template for comfort, not a rigid set of rules.
If you make this, I’d love to hear about it. Did you add jalapeños? Did you use a different cheese? Did you eat it straight from the dish like I did? Leave a comment below and let me know your favorite variation. Share this with a friend who needs a easy dinner idea. And if you have leftovers (which I doubt), save the recipe for next time.
Here’s to good food, easy cooking, and quiet moments in the kitchen. Enjoy every bite.
Frequently Asked Questions
Can I make these in the microwave?
Yes, but the texture won’t be the same. Microwave nachos will be softer and less crispy. If you’re in a hurry, microwave for 1-2 minutes until the cheese is melted. But for the best result, use the oven.
What kind of cheese is best?
Sharp cheddar is the classic choice. It has a strong flavor that stands up to the other ingredients. You can also use a Mexican blend cheese or a mix of cheddar and Monterey Jack for a milder flavor. Avoid mozzarella, as it doesn’t have enough flavor.
Can I use fresh jalapeños instead of canned green chiles?
Yes, but you’ll need to chop them finely. Fresh jalapeños are hotter than canned green chiles, so start with one and adjust to your taste. You may also need to add a splash of water to the dish to prevent drying out.
How do I store leftover nachos?
Store them in an airtight container in the refrigerator for up to 2 days. Reheat in the oven at 350°F for 10-15 minutes to crisp them up. Avoid the microwave if you want to preserve texture.
Can I freeze these nachos?
It’s not recommended. The chips will lose their crunch and become soggy or hard when thawed. It’s best to make a fresh batch. You can freeze the bean and cheese mixture, but the chips should always be added fresh.
Pin This Recipe!
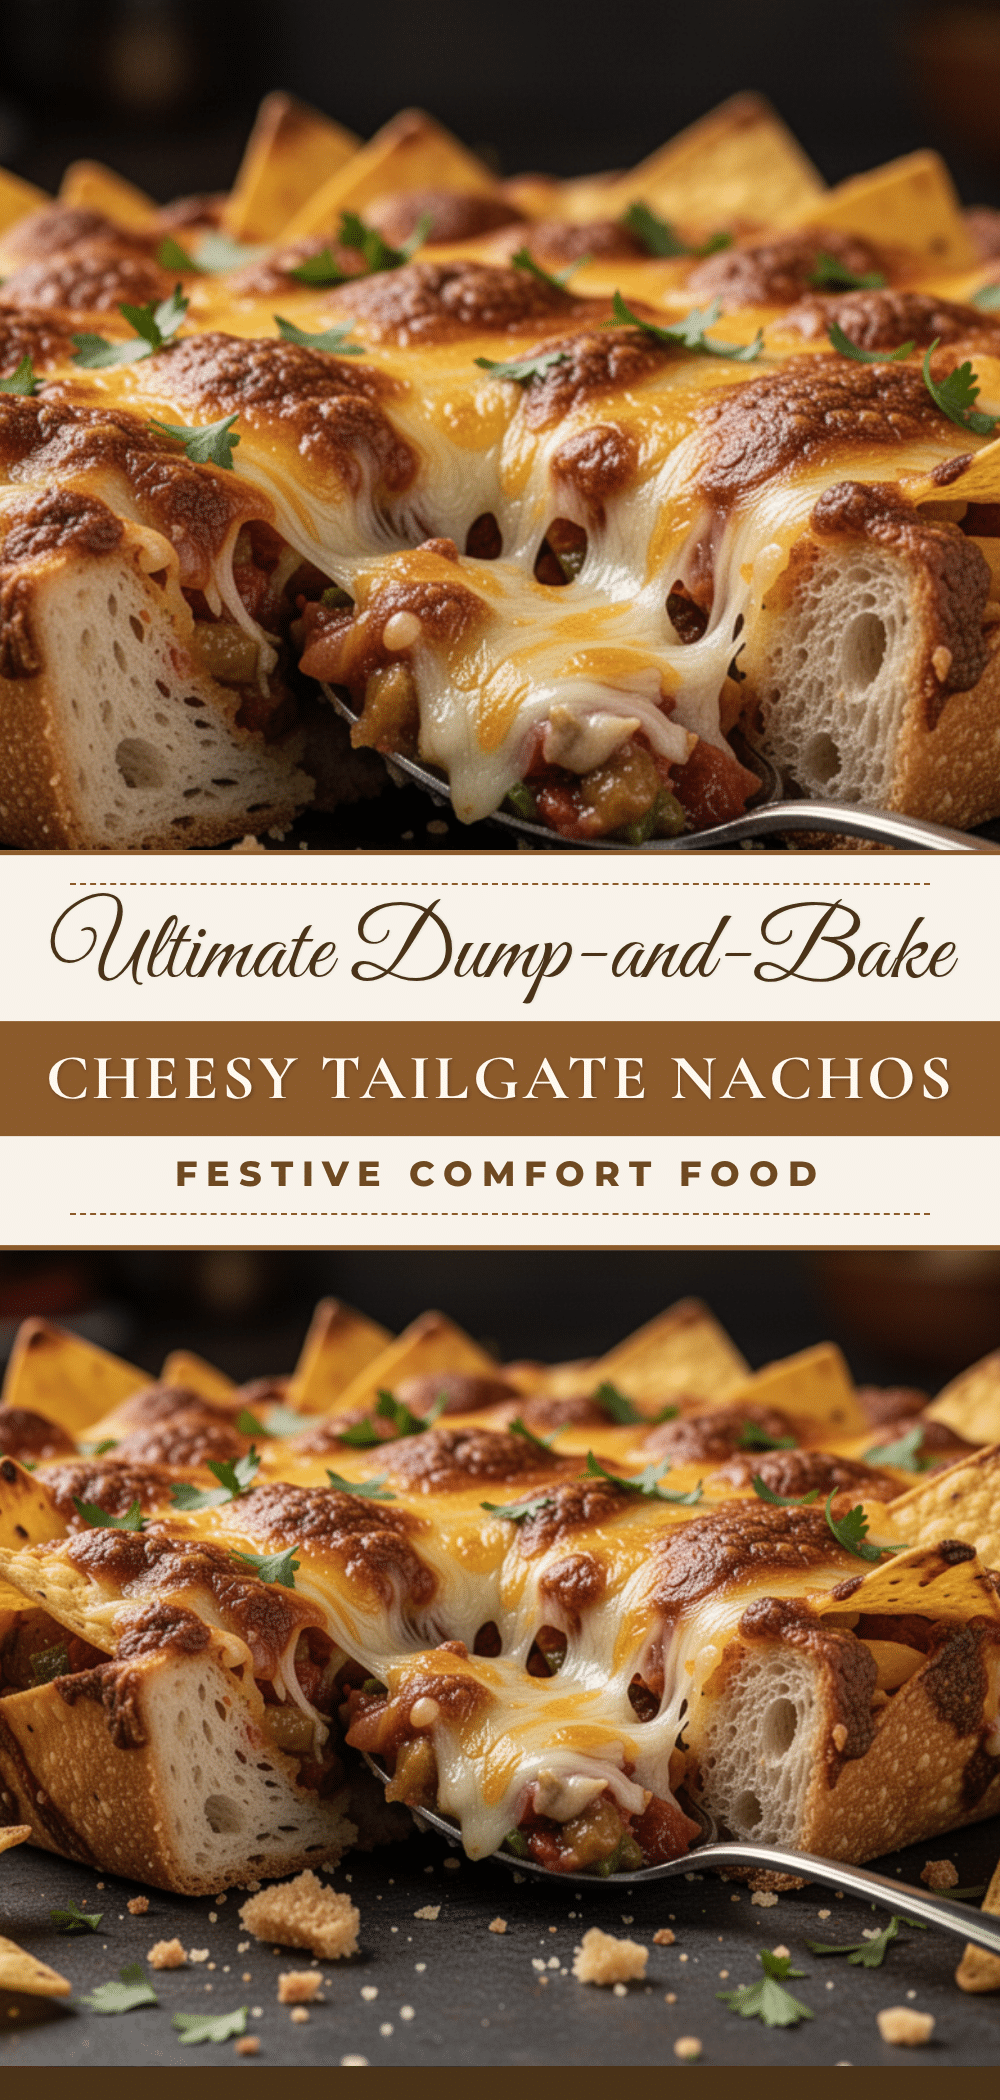
Best Dump-and-Bake Cheesy Tailgate Nachos

A quick, easy, and comforting late-night snack made by dumping sturdy tortilla chips, black beans, queso, cheese, and spices into a casserole dish and baking until golden and bubbly.
- Prep Time: 15 minutes
- Cook Time: 12 minutes
- Total Time: 27 minutes
- Yield: 4 servings 1x
- Category: Appetizer
- Cuisine: Mexican
Ingredients
- 12–14 ounces sturdy, thick-cut tortilla chips
- 2 cups shredded cheddar cheese (preferably freshly grated from a block)
- 1 (15-ounce) can black beans, rinsed and drained
- 1 (10-ounce) jar queso blanco or yellow queso
- 1 (4-ounce) can diced green chiles, undrained
- 1 teaspoon ground cumin
- 1 teaspoon chili powder
- 1/2 teaspoon garlic powder
- 1 pound cooked ground beef or turkey with taco seasoning (optional)
- Diced tomatoes (for topping)
- Sliced jalapeños (for topping)
- Chopped cilantro (for topping)
- Sour cream (for topping)
Instructions
- Preheat oven to 375°F (190°C).
- Pour tortilla chips into a 9×13 inch baking dish and spread into an even layer.
- In a large bowl, combine rinsed black beans, jar of queso, diced green chiles (with liquid), and spices (cumin, chili powder, garlic powder). Stir to coat beans.
- If using ground beef or turkey, add it to the bean mixture and stir to combine.
- Pour the bean and cheese mixture over the chips in the baking dish. Spread gently to ensure chips are coated.
- Sprinkle shredded cheddar cheese evenly over the top.
- Bake for 10-12 minutes until cheese is melted, bubbly, and chip edges are slightly golden.
- Remove from oven and let rest for 2-3 minutes to allow cheese to set.
- Top with diced tomatoes, sliced jalapeños, chopped cilantro, and sour cream.
- Serve immediately.
Notes
Use sturdy, thick-cut tortilla chips to prevent sogginess. Grate your own cheese for better melting. Do not add wet toppings like salsa or sour cream before baking. If using a sheet pan, watch closely to prevent burning. Leftovers can be stored in the refrigerator for up to 2 days and reheated in the oven.
Nutrition
- Serving Size: 1 cup
- Calories: 375
- Sugar: 2
- Sodium: 600
- Fat: 20
- Saturated Fat: 10
- Carbohydrates: 35
- Fiber: 5
- Protein: 15
Keywords: dump and bake nachos, tailgate food, easy nachos, cheesy nachos, game day snacks, quick dinner, comfort food