I did not trust tortillas in my kid’s lunch box. Not the thin, flimsy kind that tore at the first squeeze, and definitely not the thick, doughy ones that got soggy by 10 a.m. Honestly, I thought wrapping sandwiches for elementary schoolers was just a necessary evil until I watched my son carefully unwrap his lunch, only to find a sad, limp mess of bread and cheese that had stuck to the plastic wrap.
Let’s face it, packing lunches is less about nutrition and more about survival logistics. You are trying to pack a balanced meal into a container that fits in a cubby hole, survives a backpack drop, and still looks appealing to a six-year-old who has decided they hate vegetables. I had tried everything. I tried bento boxes that took an hour to assemble. I tried cut-up fruit skewers that just ended up as a sticky pile at the bottom of the bag.
The turning point came on a Tuesday morning when I was running late and grabbed a flour tortilla instead of bread. I folded it tight, wrapped it in foil, and handed it over without much hope. I expected the usual complaint. Instead, my son came home with an empty wrapper and a note from his teacher saying he finished his entire lunch for the first time all week.
It wasn’t magic. It was just the right ratio of fillings to wrap, sealed tight enough to hold its shape but soft enough to bite through. The tortilla acted as a shield, keeping the moisture in and the mess out. I was stubborn about it for a while, worried about the carbs or the lack of crunch, but seeing him actually enjoy his midday meal changed my mind. Now, these wraps are the backbone of our weekly lunch prep. They are reliable, they are fast, and most importantly, they don’t fall apart. If you are tired of fighting with bread crusts and soggy fillings, you need to trust the wrap. It works.
Why You’ll Love This Recipe
Packing school lunches doesn’t have to be a daily battle. These kid-friendly school lunch box wraps are the solution I didn’t know I needed until I started using them. They are not just another sandwich alternative; they are a tested, tried, and true method for getting nutritious food into eager mouths without the stress.
- Quick & Easy: These wraps come together in under 10 minutes. I mean it. From grabbing the tortilla to rolling it up, it is faster than buttering toast. Perfect for those chaotic mornings when you are already five minutes late.
- Simple Ingredients: You likely already have everything in your kitchen. Tortillas, cheese, deli meat, and whatever veggies are left in the crisper drawer. No fancy grocery trips needed to make this work.
- Perfect for School: They hold up incredibly well in a backpack. Unlike bread, which gets crushed, or salads, which get wilted, a well-wrapped tortilla stays intact until lunchtime.
- Crowd-Pleaser: Kids love the handheld nature of wraps. It feels like eating a burrito, which is basically a win in their book. They get to use their hands, which makes eating feel more like play.
- Unbelievably Delicious: The texture is soft and comforting. When you add a little moisture from the cream cheese or hummus, it prevents the wrap from drying out, creating a cohesive bite that tastes great.
What makes this recipe different is the focus on structural integrity. Most wrap recipes fail because they are too loose or too wet. This method uses a specific layering technique that locks the ingredients in place. It’s not just a pile of food rolled up; it is a engineered lunch. It’s the kind of meal that makes you close your eyes after the first bite and realize that yes, this is actually good. It’s comfort food reimagined for the school day—easier to pack, less messy, but with the same satisfaction. It is perfect for impressing your own kids, or just getting through the week without throwing your hands up in surrender.
What Ingredients You Will Need
This recipe uses simple, wholesome ingredients to deliver bold flavor and satisfying texture without the fuss. The key is balancing moisture and structure so the wrap doesn’t get soggy or dry. I prefer using whole wheat or spinach tortillas for added fiber, but white flour works just fine if that’s what your kids prefer.
For the Wraps
- Flour tortillas: Medium size, about 8-10 inches. I recommend La Tortilla Factory for their durability; they don’t tear as easily as store brands. Look for soft, pliable ones.
- Butter or oil: Optional, for light toasting the tortilla before rolling. This adds a nice crunch and prevents sogginess.
For the Fillings
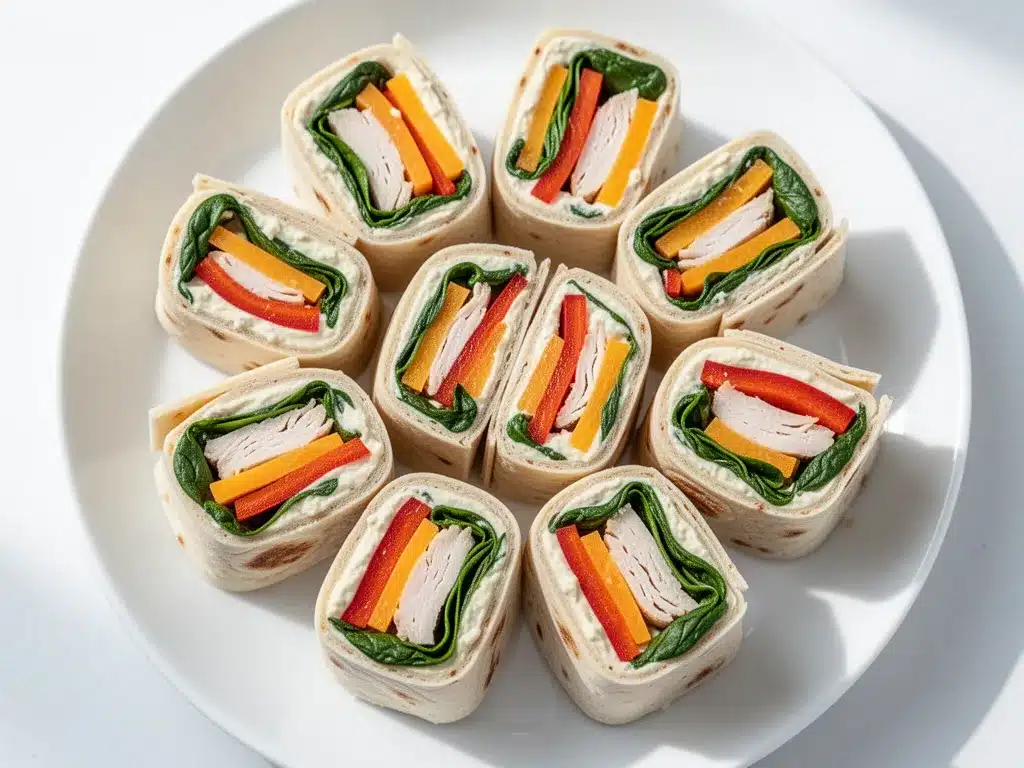
- Deli turkey or chicken: Sliced thinly. Turkey breast is a classic, but rotisserie chicken works too. I like to buy the thicker sliced deli meat because it holds together better.
- Cheese: Cheddar, Swiss, or mozzarella. Slice it thin or shred it. Shredded cheese distributes more evenly, which helps with rolling. Use dairy-free cheese if needed.
- Hummus or cream cheese: This is the secret weapon. A thin layer acts as glue and keeps the tortilla moist. Almond butter is a great nut-free alternative for school if required.
- Spinach or lettuce: Fresh leaves add crunch and color. Baby spinach is better than iceberg because it is softer and less likely to poke through the wrap.
- Cucumbers: Sliced into thin rounds or strips. They add hydration and crunch without being too watery. Pat them dry before adding.
- Avocado: Sliced thin. Adds healthy fats and creaminess. Use lemon juice to prevent browning if packing early.
Tip: I always keep a stash of pre-washed spinach in the fridge. It saves so much time in the morning. If you are making these for a week, prep the veggies on Sunday so you can just assemble on the fly.
Equipment Needed
You don’t need a lot of fancy gear to make these wraps, but having the right tools makes the process smoother and the final product more professional.
- Sharp Chef’s Knife: Essential for slicing vegetables and cheese cleanly. A dull knife will crush the ingredients and make rolling difficult. I use my 8-inch utility knife for most prep tasks.
- Cutting Board: A large, stable board gives you enough room to lay out the tortilla and arrange the fillings without crowding. A plastic board is easy to sanitize.
- Spatula: A small offset spatula is perfect for spreading hummus or cream cheese evenly over the tortilla. It helps you get into the corners without tearing the wrap.
- Plastic Wrap or Parchment Paper: You need something to wrap the finished product. Plastic wrap keeps it tight, but parchment paper is better for eco-friendly options and doesn’t stick to the tortilla as much.
- Sharpie or Label Maker: If you are prepping multiple days, label your wraps with the date and contents. This saves you from guessing what’s inside when you dig through the fridge.
Budget Tip: You don’t need expensive kitchen gadgets. A simple butter knife works for spreading, and you can reuse parchment paper from baked goods if it’s clean. The most important thing is a sharp knife to keep your fingers safe.
Preparation Method
Follow these steps to create the perfect, non-messy wrap that will survive the school day.
- Prep Your Station (2 minutes): Lay out your tortilla on the cutting board. If you have time, lightly toast the tortilla in a dry pan for 30 seconds per side. This step is optional but highly recommended for texture. It creates a slight barrier against moisture. Let it cool for a minute so the cheese doesn’t melt immediately.
- Apply the Base (1 minute): Spread a thin layer of hummus, cream cheese, or almond butter over the center of the tortilla, leaving a 1-inch border at the edges. Do not go too close to the edge, or it will ooze out when you roll. Use about 2 tablespoons per wrap.
- Layer the Meat and Cheese (2 minutes): Fold the deli meat in half and lay it in a line across the center. Add your cheese slices or shredded cheese on top. The meat should be folded, not flat, to create a thicker, more substantial bite. This also helps it roll better.
- Add the Veggies (2 minutes): Place a few leaves of spinach or lettuce on top of the meat. Add your cucumber slices or avocado. Keep the vegetable layer thin. If you pile it too high, the wrap will burst. Think of it as a filling, not a sandwich.
- The Roll (2 minutes): This is the most critical part. Lift the bottom edge of the tortilla and fold it up over the filling, tucking it in tight. Fold in the left and right sides. Then, roll it up tightly from the bottom. Apply gentle pressure as you roll to compact the filling. It should feel firm but not rock-hard.
- Wrap for Storage (1 minute): Wrap the rolled tortilla tightly in plastic wrap or parchment paper. Twist the ends like a candy wrapper to secure it. This keeps the shape intact and prevents air from getting in, which keeps the veggies fresh.
Warning: Do not skip the tucking step when rolling. If the sides are loose, the filling will fall out at lunch. Tuck them in firmly before continuing to roll.
Cooking Tips & Techniques
After making hundreds of these wraps, I have learned a few tricks to ensure they stay perfect. The biggest mistake people make is overfilling the wrap. It is tempting to add extra veggies for health, but too much volume creates pressure that breaks the tortilla. Less is more.
Another tip is to manage moisture. Wet ingredients like tomatoes or watery cucumbers can make the tortilla soggy. Always pat your veggies dry with a paper towel before adding them. If you are using avocado, add a squeeze of lemon juice to keep it from turning brown. This is especially important if you are packing the night before.
I also recommend rolling the wrap seam-side down when placing it in the lunch box. This prevents the seam from opening up if the bag is squeezed. It’s a small detail, but it makes a big difference in presentation.
For consistency, try to keep the width of your filling line consistent. If you pile the ingredients in the middle, the ends will be empty and floppy. A straight line across the center ensures every bite has the same ratio of wrap to filling.
Personal Fail: I once tried to make a wrap with whole lettuce leaves that were too big. They stuck out the sides and got crushed in the lunchbox. Lesson learned: always trim your veggies to fit the width of the tortilla.
Variations & Adaptations
These wraps are incredibly versatile. Here are a few ways to switch it up to keep things interesting.
- Vegetarian Option: Skip the meat and double the cheese. Add roasted red peppers and spinach for a Mediterranean vibe. You can also use falafel for a protein-rich veggie alternative.
- Low-Carb Option: Use low-carb tortillas or even large lettuce leaves (like butter lettuce) to wrap the fillings. This makes it a keto-friendly lunch.
- Nut-Free School Safe: Avoid almond butter or peanut butter if your school has nut restrictions. Stick to sunflower seed butter, hummus, or cream cheese.
- Spicy Kick: Add a slice of jalapeño or a dash of hot sauce to the hummus for kids who like a little heat.
- Breakfast Wrap: Swap the deli meat for scrambled eggs and cheese. These are great for breakfast or a hearty lunch.
I often try a “clean out the fridge” wrap where I use any leftover roasted veggies from dinner. It’s a great way to reduce waste and introduces kids to new flavors in a familiar format.
Serving & Storage Suggestions
These wraps are best served at room temperature. There is no need to heat them up, which makes them perfect for school lunches that don’t have access to microwaves. If you are eating them at home, you can warm them briefly in a pan for a softer texture.
Storage: Store wrapped wraps in an airtight container or a resealable bag in the refrigerator. They will keep for up to 2 days. After that, the tortilla may start to dry out or the veggies may wilt.
Reheating: If you prefer warm wraps, microwave them for 20-30 seconds. Be careful not to overheat, or the tortilla will become chewy.
Pairing: Serve with a side of apple slices, carrot sticks, or a small container of yogurt. A piece of fruit balances the savory wrap nicely. Avoid pairing with another carbohydrate-heavy side like chips, unless it’s a special treat day.
Nutritional Information & Benefits
While exact nutrition varies based on ingredients, a typical wrap contains about 300-400 calories. It provides a good balance of protein from the meat and cheese, carbohydrates from the tortilla, and fiber from the veggies.
Using whole wheat tortillas adds fiber, which helps keep kids full longer. The hummus or cream cheese adds healthy fats, which are important for brain development. Spinach and cucumbers provide vitamins and hydration without adding many calories.
Allergen Note: Check tortilla labels for wheat or soy. Use dairy-free alternatives if needed. Always check school policies regarding nuts.
Conclusion
These easy kid-friendly school lunch box wraps are a game-changer for busy parents. They are quick to make, easy to pack, and most importantly, they get eaten. I love them because they take the stress out of lunch prep and give my kids a meal they actually look forward to. They are versatile, customizable, and forgiving of mistakes.
I encourage you to try them and see if your kids prefer them over sandwiches. Feel free to experiment with different fillings and flavors to find what works best for your family. If you try this recipe, I’d love to hear how it goes! Leave a comment below with your favorite filling combo.
Here’s to stress-free lunches and happy kids. You’ve got this.
FAQs
Can I make these wraps the night before?
Yes, you can. However, avoid adding wet ingredients like tomatoes or avocado if packing the night before, as they can make the tortilla soggy. Add those fresh in the morning if possible.
What is the best way to keep the wrap from unraveling?
Roll it tightly and tuck in the sides firmly. Wrap it securely in plastic wrap or parchment paper, twisting the ends. This holds the shape during transport.
Can I use gluten-free tortillas?
Absolutely. Gluten-free tortillas work well, but they can be more brittle. Handle them gently when rolling to avoid cracking.
How do I prevent the wrap from getting dry?
Use a moist spread like hummus, cream cheese, or mayo. Also, avoid over-baking or toasting the tortilla before rolling.
Are these wraps suitable for nut-free schools?
Yes, as long as you avoid nut butters. Use sunflower seed butter, hummus, or cream cheese as alternatives for a nut-free spread.
Pin This Recipe!
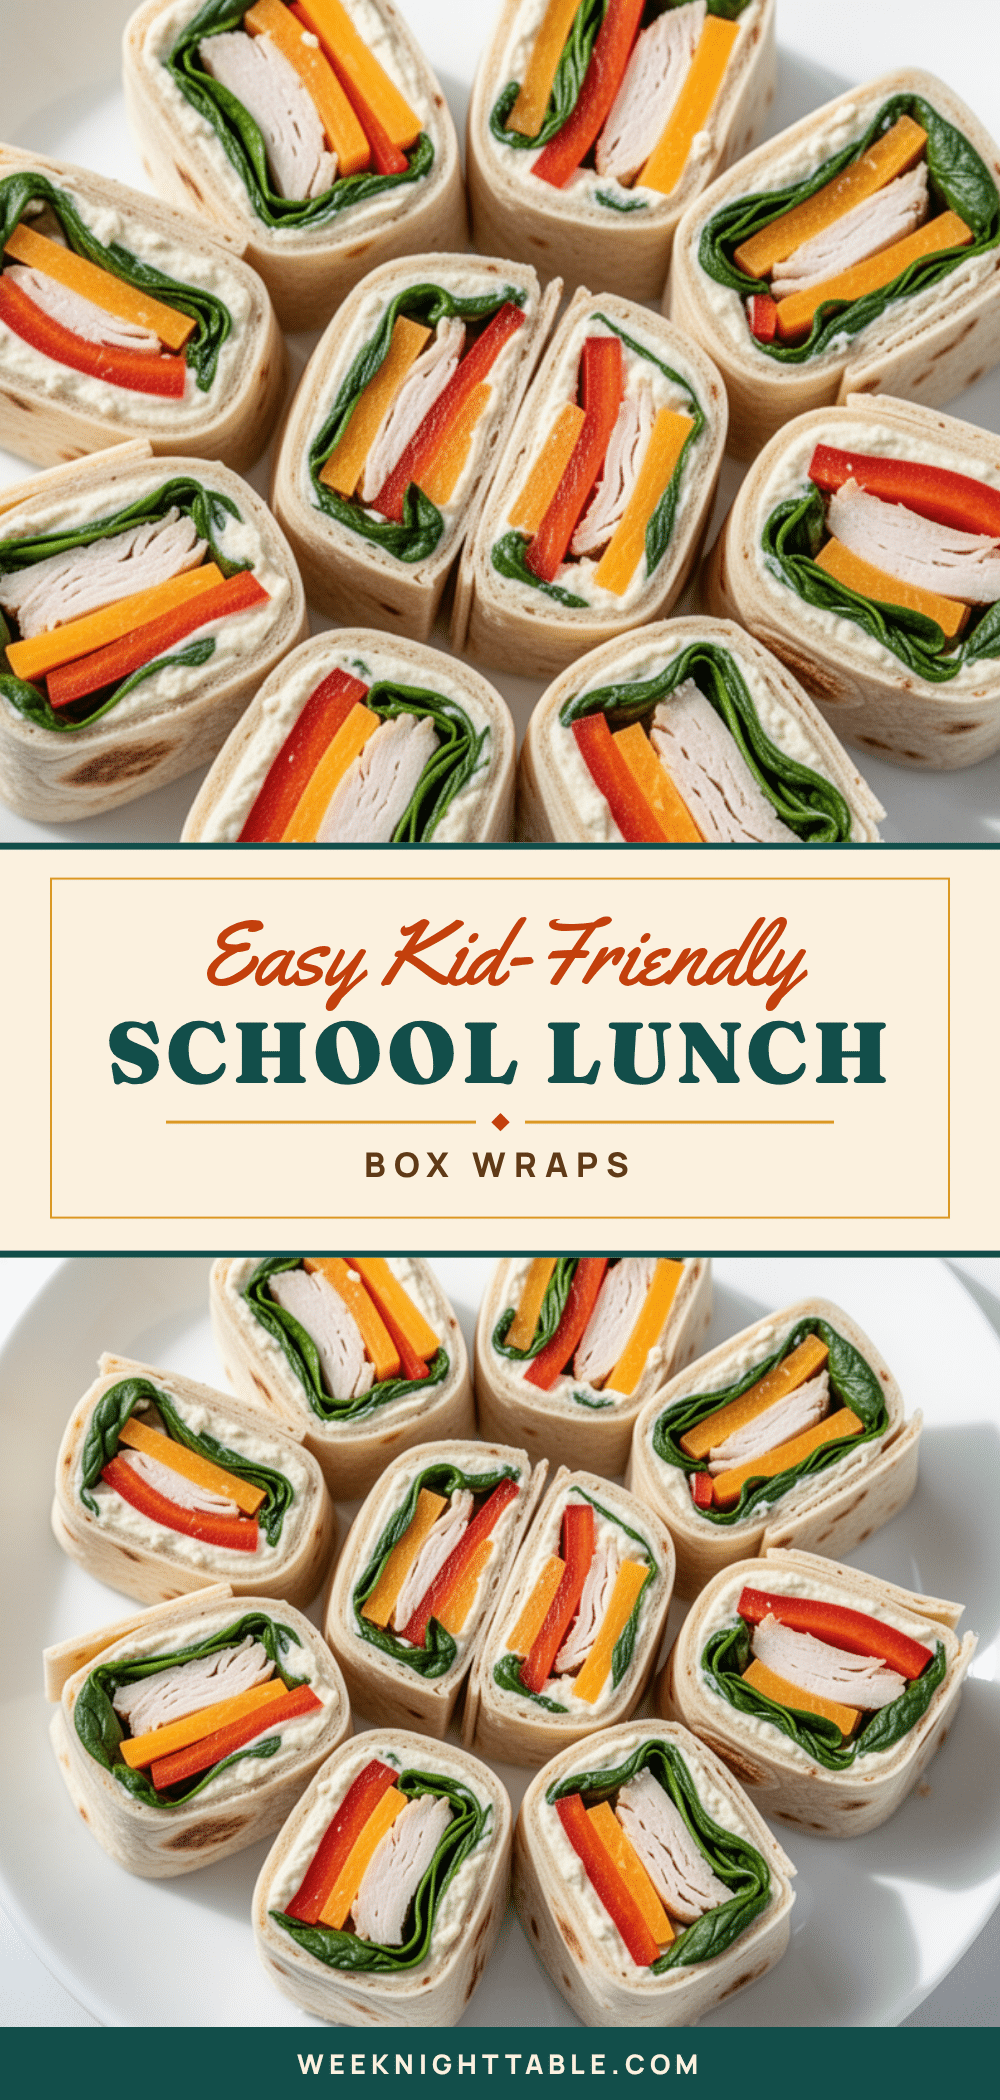
Easy Kid-Friendly School Lunch Box Wraps

A quick, durable, and kid-approved lunch wrap that stays intact in backpacks. This 10-minute recipe uses a specific layering technique to prevent sogginess and unraveling, making it perfect for school lunches.
- Prep Time: 10 minutes
- Cook Time: 0 minutes
- Total Time: 10 minutes
- Yield: 1 serving
- Category: Lunch
- Cuisine: American
Ingredients
- Flour tortillas (medium, 8-10 inches)
- Deli turkey or chicken (thinly sliced)
- Cheese (Cheddar, Swiss, or mozzarella, sliced or shredded)
- Hummus or cream cheese (for spreading)
- Spinach or lettuce (baby spinach preferred)
- Cucumbers (sliced into thin rounds or strips)
- Avocado (sliced thin, optional)
- Butter or oil (optional, for toasting)
Instructions
- Prep your station by laying out a tortilla on a cutting board. Optionally, lightly toast the tortilla in a dry pan for 30 seconds per side to create a moisture barrier, then let it cool.
- Spread a thin layer of hummus, cream cheese, or almond butter over the center of the tortilla, leaving a 1-inch border at the edges.
- Fold the deli meat in half and lay it in a line across the center. Add cheese slices or shredded cheese on top.
- Place spinach or lettuce leaves on top of the meat, followed by cucumber slices or avocado. Keep the vegetable layer thin to prevent bursting.
- Lift the bottom edge of the tortilla and fold it up over the filling, tucking it in tight. Fold in the left and right sides, then roll tightly from the bottom, applying gentle pressure.
- Wrap the rolled tortilla tightly in plastic wrap or parchment paper, twisting the ends to secure the shape.
Notes
Pat vegetables dry before adding to prevent sogginess. Roll seam-side down in the lunch box to prevent unraveling. For nut-free schools, use sunflower seed butter or hummus instead of nut butters. Avoid adding wet ingredients like tomatoes if packing the night before.
Nutrition
- Serving Size: 1 wrap
- Calories: 350
- Sugar: 3
- Sodium: 600
- Fat: 15
- Saturated Fat: 5
- Carbohydrates: 35
- Fiber: 4
- Protein: 20
Keywords: school lunch, kid-friendly, lunch box ideas, quick wraps, healthy lunch, meal prep, gluten-free options, nut-free