It wasn’t until my third attempt at roasting a butternut squash that I finally stopped hating the result. I used to think the problem was the squash itself, or maybe the oven wasn’t hot enough. I would cube it up, toss it in oil, and push it into the oven, only to pull out a tray of soggy, slimy orange mush. You know that feeling? It’s like eating wet cardboard that tastes faintly of pumpkin.
I burned the edges while the centers stayed raw, or worse, they just steamed in their own moisture. Let’s face it, butternut squash is notorious for being difficult. It’s dense, it’s wet, and it hates being crowded. I spent years apologizing for this side dish at dinner parties, serving up a pile of soft, underwhelming cubes that nobody really touched. I almost gave up on it entirely.
Then, I stopped trying to force it. I started listening to the vegetable instead. The secret wasn’t in the seasoning or the temperature alone. It was about giving those cubes enough room to actually breathe. Once I stopped packing them into the pan like sardines, the texture changed completely. The outside got shattering crisp, while the inside turned into a sweet, velvety custard.
Now, these Crispy Roasted Butternut Squash Cubes are the first thing I make when autumn hits. They aren’t just a side dish; they’re the reason I look forward to dinner. It took me way too long to figure this out, but honestly, the effort was worth it. You deserve squash that doesn’t disappoint you.
Why You’ll Love This Recipe
After years of failed roasts and soggy disappointments, I finally cracked the code on how to make butternut squash actually crisp up. This isn’t just another recipe from a generic cookbook. It’s the result of trial, error, and a lot of wasted squash. Here is why this specific method works so well for your kitchen.
- Quick & Easy: Yes, roasting takes time, but the active prep is under ten minutes. You cube, toss, and bake. It’s perfect for busy weeknights when you want something healthy without spending hours in the kitchen.
- Simple Ingredients: You likely have everything you need already. Olive oil, salt, pepper, and maybe a little cinnamon or paprika. No fancy grocery trips needed for obscure spices. It’s wholesome, simple cooking.
- Perfect for Meal Prep: These cubes hold up surprisingly well in the fridge. They are great for adding to grain bowls, salads, or pasta later in the week. They don’t get mushy if stored correctly.
- Crowd-Pleaser: Even the pickiest eaters, including kids who usually turn their noses up at vegetables, love these. The natural sweetness balances the savory seasoning perfectly.
- Unbelievably Delicious: The texture is the star here. Crispy edges, soft centers. It’s comfort food that happens to be good for you. It’s the kind of bite that makes you close your eyes and just enjoy it.
What makes this recipe different from the rest is the attention to detail in the cutting and spacing. Most people fail because they cut the cubes too small or too large, or they overcrowd the pan. This method ensures every single cube gets that Maillard reaction you’re craving. It’s not just roasted squash; it’s the best version of roasted squash you’ve ever had.
What Ingredients You Will Need
This recipe relies on the natural sweetness of the squash and the quality of your oil. You don’t need a long list of complicated items. The goal is to let the vegetable shine while adding just enough flavor to enhance it. Here is what you need to get started.
- Butternut Squash: One medium to large squash, peeled and cubed. Look for one that feels heavy for its size. That usually means it’s moist and sweet. I prefer buying them whole rather than pre-cubed, as the pre-cut ones often sit in plastic and lose their flavor.
- Extra Virgin Olive Oil: About three tablespoons. I use a good quality olive oil because you can taste the difference. It adds richness and helps the heat conduct evenly. If you are dairy-free or prefer a neutral flavor, avocado oil works well too.
- Kosher Salt: One teaspoon. Kosher salt is better than table salt here because it dissolves evenly and doesn’t have additives. It draws out moisture and seasons the squash deeply.
- Black Pepper: Half a teaspoon, freshly cracked. Fresh pepper adds a nice bite that cuts through the sweetness of the squash.
- Smoked Paprika: One teaspoon. This is optional, but I highly recommend it. It adds a subtle smokiness that makes the squash taste like it was cooked over an open fire. It’s a game-changer for flavor.
- Garlic Powder: One teaspoon. Using powder instead of fresh garlic prevents burning. Fresh garlic burns quickly at high temperatures, but powder adds a savory depth without the risk.
- Dried Thyme: Half a teaspoon. Thyme pairs beautifully with squash. It adds an earthy, herbal note that makes the dish feel more sophisticated.
If you want to get fancy, you can add a pinch of cayenne pepper for heat. Or, if you prefer sweet, a little maple syrup can be drizzled on right before serving. But honestly, the basics are all you need. Keep it simple and let the squash do the talking.
Equipment Needed
You don’t need fancy gadgets to make this work. A few basic tools are all you need.
- Baking Sheets: Use large, rimmed baking sheets. I recommend using two sheets if you have enough room in the oven. Crowding is the enemy of crispiness. If you must use one sheet, cut the squash into slightly larger cubes to leave more space between them.
- Large Mixing Bowl: A bowl big enough to toss the squash in the oil and spices. This ensures even coating. A wide bowl is better than a deep one for tossing.
- Sharp Chef’s Knife: A good knife makes cutting the squash much safer and easier. A dull knife will slip, and that’s how accidents happen.
- Vegetable Peeler: A standard Y-peeler works fine for removing the tough skin. If the squash is particularly hard, a potato peeler might struggle, so a sharp chef’s knife can help remove the skin in sections.
If you don’t have parchment paper, you can use a silicone baking mat. It’s reusable and makes cleanup a breeze. Just wipe it down after use. Budget-friendly options include using a basic metal baking sheet and just being diligent about scraping off any stuck bits after cooking.
Preparation Method
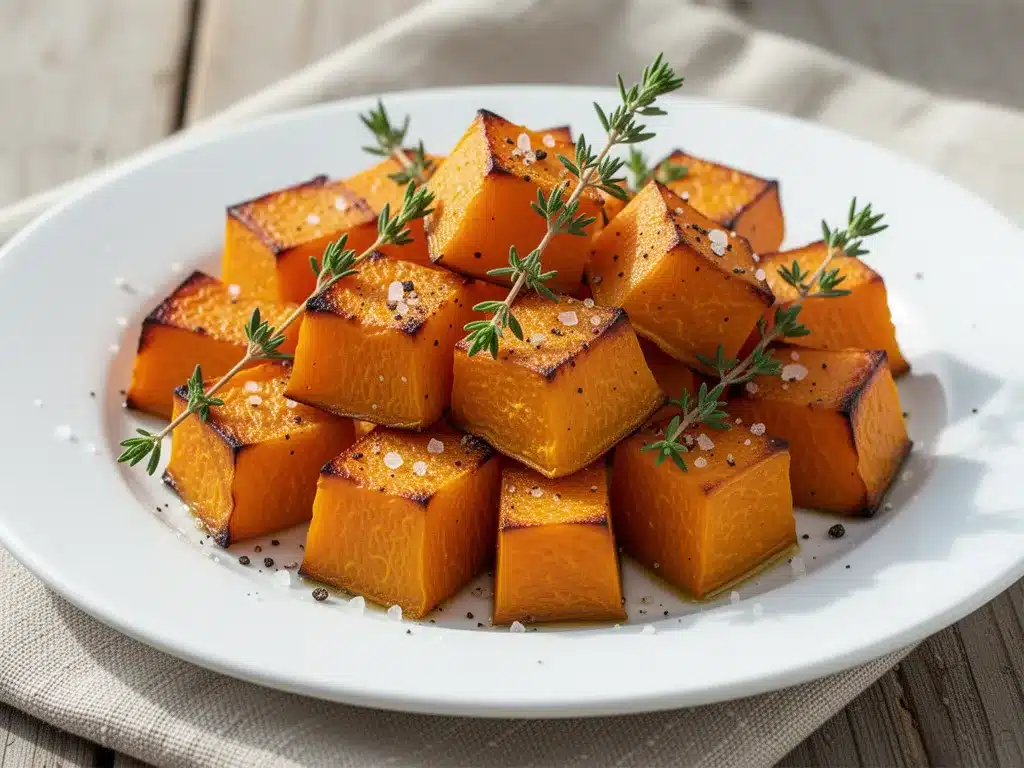
Let’s get into the actual cooking process. This is where the magic happens, but only if you pay attention to the details. Follow these steps closely for the best results.
- Preheat Your Oven: Start by preheating your oven to 400°F (200°C). This temperature is crucial. It’s hot enough to caramelize the sugars but not so hot that the outside burns before the inside cooks. Give the oven at least 15 minutes to fully heat up.
- Prepare the Squash: Wash the squash thoroughly. Cut off the top and bottom to create stable bases. Stand it up and carefully slice off the skin in downward strokes. Be careful of the hard texture. Once peeled, cut it in half and scoop out the seeds with a spoon. Discard the seeds or roast them separately if you want a snack.
- Cube the Squash: Cut the flesh into uniform cubes. Aim for about 1-inch pieces. Uniformity is key here. If some pieces are huge and others are tiny, they will cook at different rates. You want every cube to finish at the same time.
- Season Generously: Place the cubes in your large mixing bowl. Drizzle with olive oil and sprinkle with salt, pepper, paprika, garlic powder, and thyme. Toss everything together with your hands. You want every single cube coated in oil and spices. This might take a minute, but it’s worth it.
- Arrange on Baking Sheets: Line your baking sheets with parchment paper. Spread the squash cubes in a single layer. Do not stack them! If they are touching, they will steam instead of roast. Leave space between each cube. This is the most important step for getting that crispy exterior.
- Roast: Place the sheets in the oven. Roast for 25-30 minutes. Halfway through, around the 15-minute mark, flip the cubes. This ensures even browning on all sides. You should start to see the edges turning golden brown.
- Check for Doneness: The squash is done when a fork slides easily into the center. The edges should be crispy and slightly caramelized. If they look like they are browning too fast, you can lower the temperature by 25 degrees for the last 5 minutes.
- Serve Immediately: Remove from the oven and serve while hot. The crispiness fades as they cool, so get them to the table as soon as possible. Enjoy!
Cooking Tips & Techniques
There are a few tricks I’ve learned over the years that can save your squash from becoming a soggy mess.
Don’t Skip the Space: I know it’s tempting to pack the pan to save time. Don’t. If the cubes are touching, they release moisture and create steam. Steam is the opposite of crisp. Use two pans if you have to. It’s better to roast in batches than to have soggy squash.
Pat Them Dry: After washing the squash, make sure the cubes are dry before adding oil. Excess water on the surface will prevent browning. A quick pat with a paper towel goes a long way.
Flip Midway: Ovens have hot spots. Flipping the cubes halfway through ensures they brown evenly. It also prevents the bottom layer from getting too dark while the top stays pale.
Watch the Smoke Point: If your oil starts smoking, your oven is too hot. Olive oil has a lower smoke point than avocado oil. If you see smoke, lower the heat immediately. Burnt oil tastes bitter and ruins the dish.
Use a Thermometer: If you are unsure about your oven’s accuracy, use an oven thermometer. Many ovens run hotter or cooler than the dial suggests. Knowing your actual temperature helps you adjust accordingly.
Season Before, Not After: Seasoning before roasting allows the flavors to penetrate the squash. Sprinkling salt after cooking only seasons the surface. You want the flavor throughout the cube.
Variations & Adaptations
Once you master the basic method, you can play around with flavors. Here are a few ideas.
Spicy Kick: Add a pinch of cayenne pepper or red pepper flakes to the seasoning mix. This adds a nice heat that contrasts with the sweetness. It’s great for those who like a bit of fire.
Honey Glazed: Drizzle a little honey or maple syrup over the squash in the last 5 minutes of roasting. This creates a sticky, caramelized glaze. It’s a bit sweeter and perfect for holiday dinners.
Herb Fresh: Instead of dried thyme, use fresh rosemary or sage. Chop it finely and toss it with the squash. Fresh herbs add a brighter, more aromatic flavor. Add them in the last 10 minutes to prevent burning.
Gluten-Free & Vegan: This recipe is naturally gluten-free and vegan. Just ensure your olive oil and spices are pure. No hidden additives. It’s a safe and healthy option for various diets.
Savory Twist: Swap the sweet spices for rosemary, garlic, and lemon zest. This makes it a more savory side dish, perfect for pairing with roasted meats or fish.
I’ve tried adding bacon bits on top after roasting, and it’s delicious. The saltiness of the bacon pairs well with the sweet squash. It’s a personal favorite of mine for special occasions.
Serving & Storage Suggestions
These cubes are best served hot and crisp. They make a great side dish for roasted chicken, pork chops, or turkey. They also taste amazing on top of a salad or mixed into a grain bowl with quinoa and kale.
If you have leftovers, let them cool completely before storing. Keep them in an airtight container in the refrigerator for up to four days. Reheating is key to restoring crispiness. Avoid the microwave, as it will make them soggy. Instead, reheat them in a toaster oven or a regular oven at 375°F (190°C) for about 10 minutes. This will bring back some of that crunch.
They also freeze well. Spread the cooked cubes on a baking sheet and freeze until solid. Then transfer them to a freezer bag. They can be stored for up to three months. Thaw and reheat as needed. They won’t be as crisp as fresh, but they are still delicious.
The flavors actually develop over time in the fridge. The spices meld together, making the squash taste even more complex after a day or two. It’s one of those dishes that tastes better as leftovers.
Nutritional Information & Benefits
Butternut squash is not just tasty; it’s incredibly good for you. It’s packed with vitamins and minerals. Here is a quick breakdown of what you’re getting.
- Vitamin A: One cup of roasted squash provides more than your daily requirement of Vitamin A. It’s great for eye health and immune function.
- Vitamin C: It’s also a good source of Vitamin C, which supports skin health and helps your body absorb iron.
- Fiber: The fiber content aids digestion and helps keep you feeling full longer. It’s a satisfying side dish that won’t leave you hungry.
- Low Calorie: Squash is naturally low in calories, making it a great addition to weight management diets. You can eat a generous portion without guilt.
It’s also gluten-free, dairy-free, and vegan. It fits into almost any dietary plan. I love that I can serve a healthy side dish that everyone enjoys, without feeling like I’m sacrificing flavor for nutrition.
Conclusion
Roasting butternut squash doesn’t have to be a chore. With the right technique, it becomes a crispy, sweet, and satisfying dish that elevates any meal. I hope you try this method and enjoy the results as much as I do. Don’t be afraid to experiment with spices and herbs to make it your own.
If you make this recipe, I’d love to hear how it turns out. Leave a comment below and let me know your favorite variation. Share your photos on social media and tag me. I love seeing how you adapt these recipes. Thank you for reading, and happy cooking!
FAQs
Why is my roasted squash soggy?
Most likely, you overcrowded the baking sheet. The cubes need space to breathe. If they are touching, they steam instead of roast. Use two pans or cut the cubes larger to leave more room.
Can I use pre-cut butternut squash?
You can, but it’s often not as fresh or flavorful as cutting it yourself. Pre-cut squash may have been sitting in plastic for a while, which can affect texture. If you use it, make sure to pat it dry thoroughly.
How do I know when the squash is done?
Insert a fork into the largest cube. If it slides in easily and the edges are golden brown, it’s done. The center should be tender, not hard.
Can I add other vegetables to the same pan?
Yes, but be careful. Vegetables with different cooking times, like carrots or potatoes, might not cook evenly with squash. If you add them, cut them to match the cooking time of the squash.
What is the best way to reheat leftovers?
Avoid the microwave. Use an oven or toaster oven at 375°F (190°C) for 10 minutes. This helps restore the crispiness. The microwave will make them soft and chewy.
Pin This Recipe!
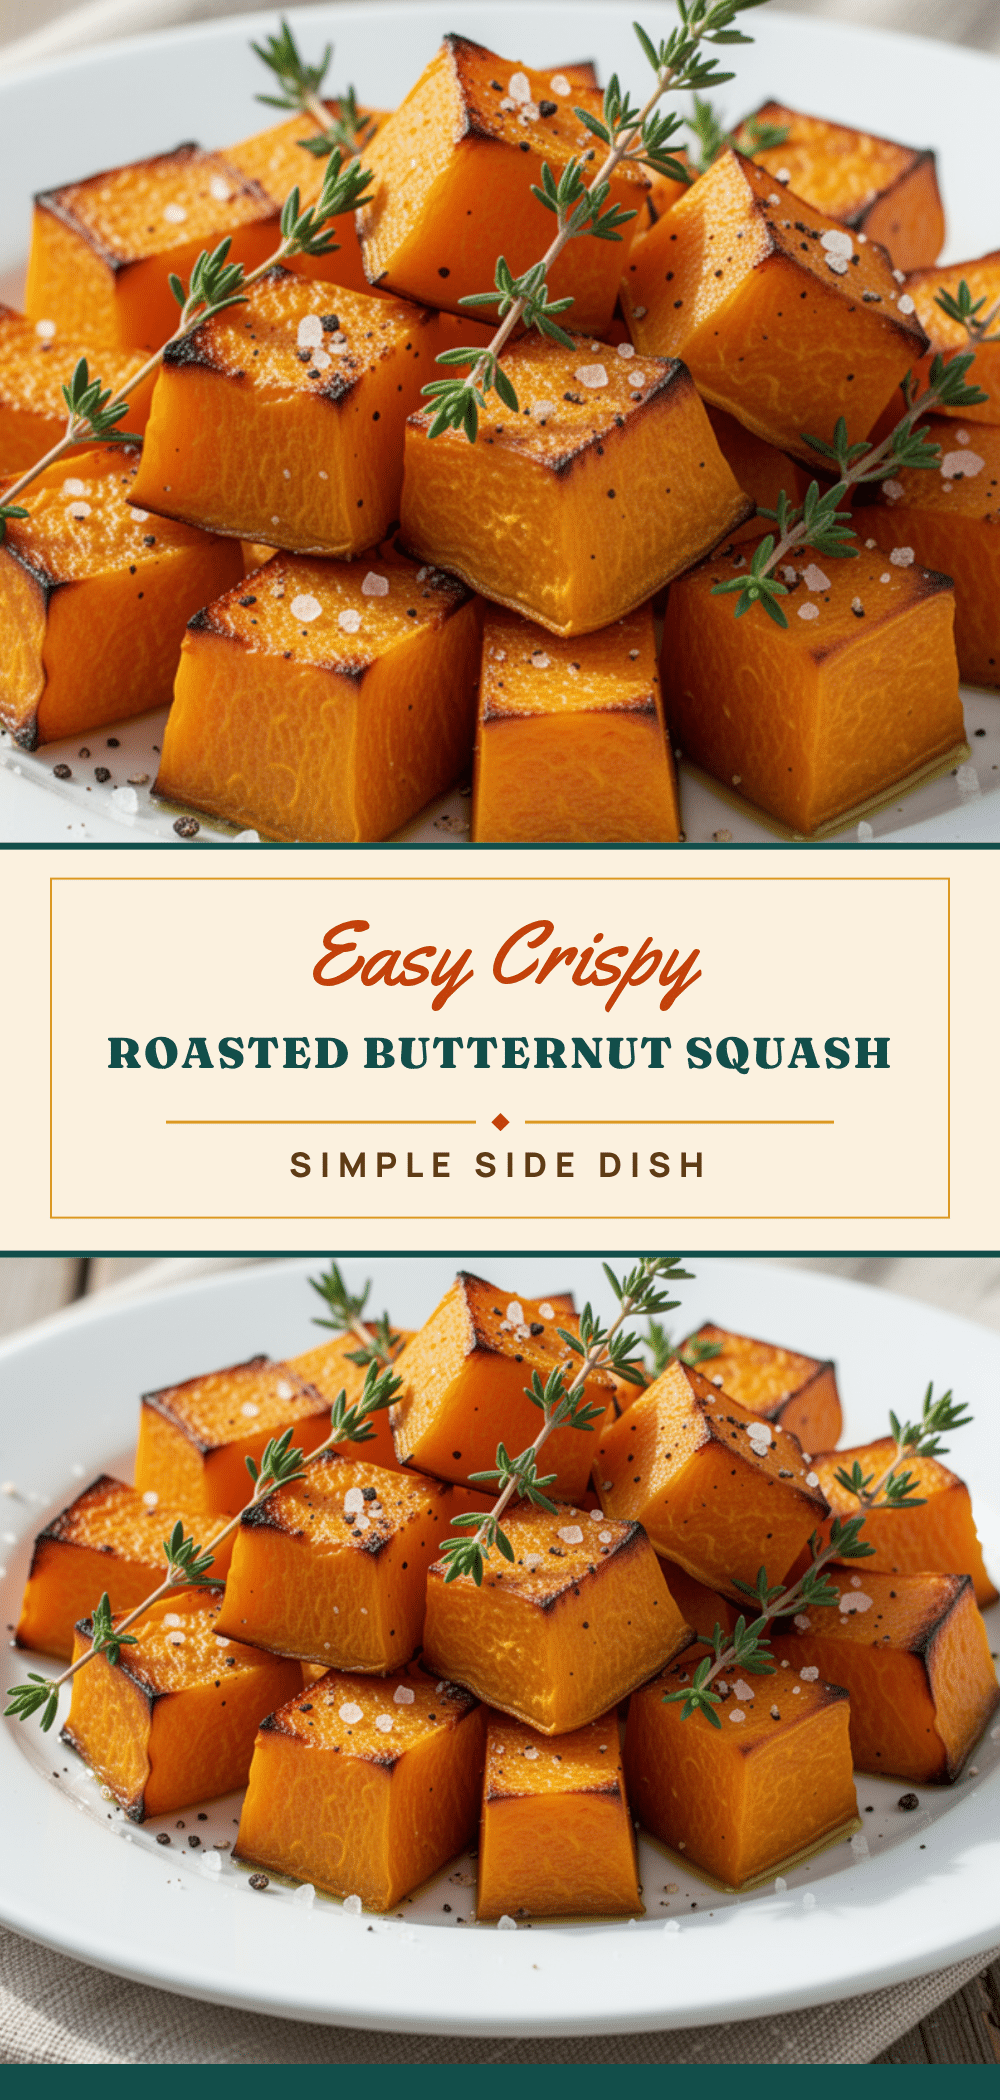
Crispy Roasted Butternut Squash Cubes: 10-Min Easy Side
Achieve perfectly crispy, caramelized butternut squash cubes with this easy roasting method. The secret lies in proper spacing and high heat to avoid soggy results.
- Prep Time: 10 minutes
- Cook Time: 30 minutes
- Total Time: 40 minutes
- Yield: 4 servings 1x
- Category: Side Dish
- Cuisine: American
Ingredients
- 1 medium to large butternut squash, peeled and cubed into 1-inch pieces
- 3 tablespoons extra virgin olive oil
- 1 teaspoon kosher salt
- 0.5 teaspoon freshly cracked black pepper
- 1 teaspoon smoked paprika
- 1 teaspoon garlic powder
- 0.5 teaspoon dried thyme
Instructions
- Preheat oven to 400°F (200°C) and allow it to heat for at least 15 minutes.
- Wash the squash, cut off the top and bottom, peel the skin, remove seeds, and cube the flesh into uniform 1-inch pieces.
- Pat the squash cubes dry with a paper towel to ensure crispiness.
- Place cubes in a large mixing bowl and drizzle with olive oil.
- Sprinkle with salt, pepper, smoked paprika, garlic powder, and thyme.
- Toss thoroughly with hands until every cube is evenly coated in oil and spices.
- Line baking sheets with parchment paper and spread squash in a single layer, ensuring cubes are not touching.
- Roast for 25-30 minutes, flipping the cubes halfway through (around the 15-minute mark) to ensure even browning.
- Check for doneness by inserting a fork; it should slide easily into the center and edges should be golden brown.
- Serve immediately while hot to maintain crispiness.
Notes
Do not overcrowd the pan; use two sheets if necessary to allow space between cubes for proper roasting. Pat squash dry before oiling to prevent steaming. Reheat leftovers in an oven or toaster oven at 375°F for 10 minutes to restore crispiness; avoid microwaving.
Nutrition
- Serving Size: 1 cup
- Calories: 120
- Sugar: 4
- Sodium: 280
- Fat: 7
- Saturated Fat: 1
- Carbohydrates: 15
- Fiber: 3
- Protein: 1
Keywords: butternut squash, roasted squash, crispy vegetables, healthy side dish, vegan recipes, gluten-free, meal prep, autumn recipes